Milky Way Photos Around the July New Moon: A Beginner Phone and Tripod Plan
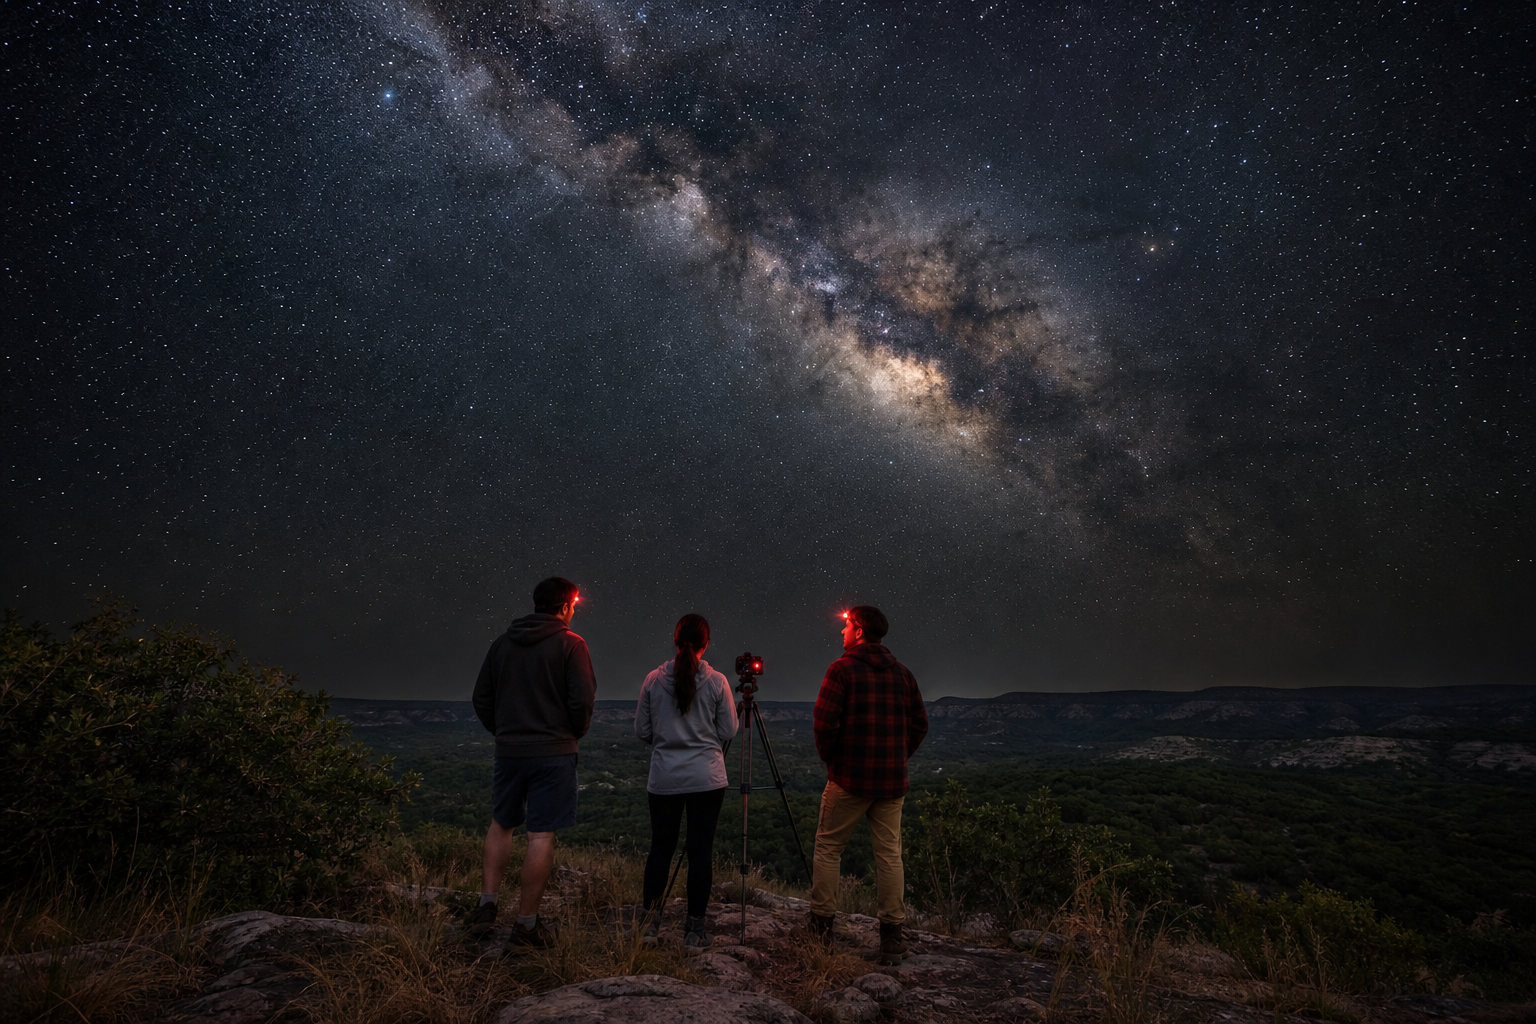
July’s new Moon arrived on July 14, and it gives the brightest part of our galaxy its best local showing of the month. NASA’s July skywatching guide calls the dark nights around the new Moon the prime time to look for the Milky Way—especially the brighter, dust-laced region near Scorpius and Sagittarius.
That does not mean you can pull over in downtown Austin, Houston, or Los Angeles and see a bright galactic river overhead. City lights erase most of it. But with a dark destination, a tripod, and a little patience, this is an excellent same-day first attempt—whether you have a phone or an entry-level camera.

Your July 15 plan: go dark, then look south
The Moon is now just past new, so tonight and the next few evenings still offer a useful moon-light window. The exact moment matters less than your horizon and your light pollution. Choose a legally accessible place with an open view south and a forecast that is clear enough for stars—not merely “no rain.”
After astronomical twilight, look low to the south for the fishhook-shaped stars of Scorpius. Sagittarius sits nearby; the Milky Way’s bright central band is in that neighborhood. NASA recommends letting your eyes adapt and resisting the urge to stare at a bright phone screen. Give yourself 20–30 minutes with lights dimmed or red.
For Austin, that usually means planning a real dark-sky drive rather than a city park; Hill Country routes and organized public observing nights are kinder to the camera. Houston photographers should be especially realistic about the glow and humidity: a darker destination beyond the metro is the point, not an optional upgrade. In Los Angeles, mountain and desert dark-sky trips can work well, but check access, weather, fire restrictions, parking rules, and the return drive before you leave. If you are making an evening of it, meet fellow skywatchers through the Cosmic Match astronomy community and agree on a public, permitted location.
Pack only what makes tonight easier
A great first Milky Way photo is mostly a stability problem and a darkness problem. Bring:
- A charged phone or camera, plus a power bank
- A tripod; for a phone, a clamp that locks it in place
- A small red-light flashlight (or red screen mode)
- A microfiber cloth for dew or fingerprints
- Water, a layer, and a saved offline map
- A friend or an organized public observing group—dark locations are better shared
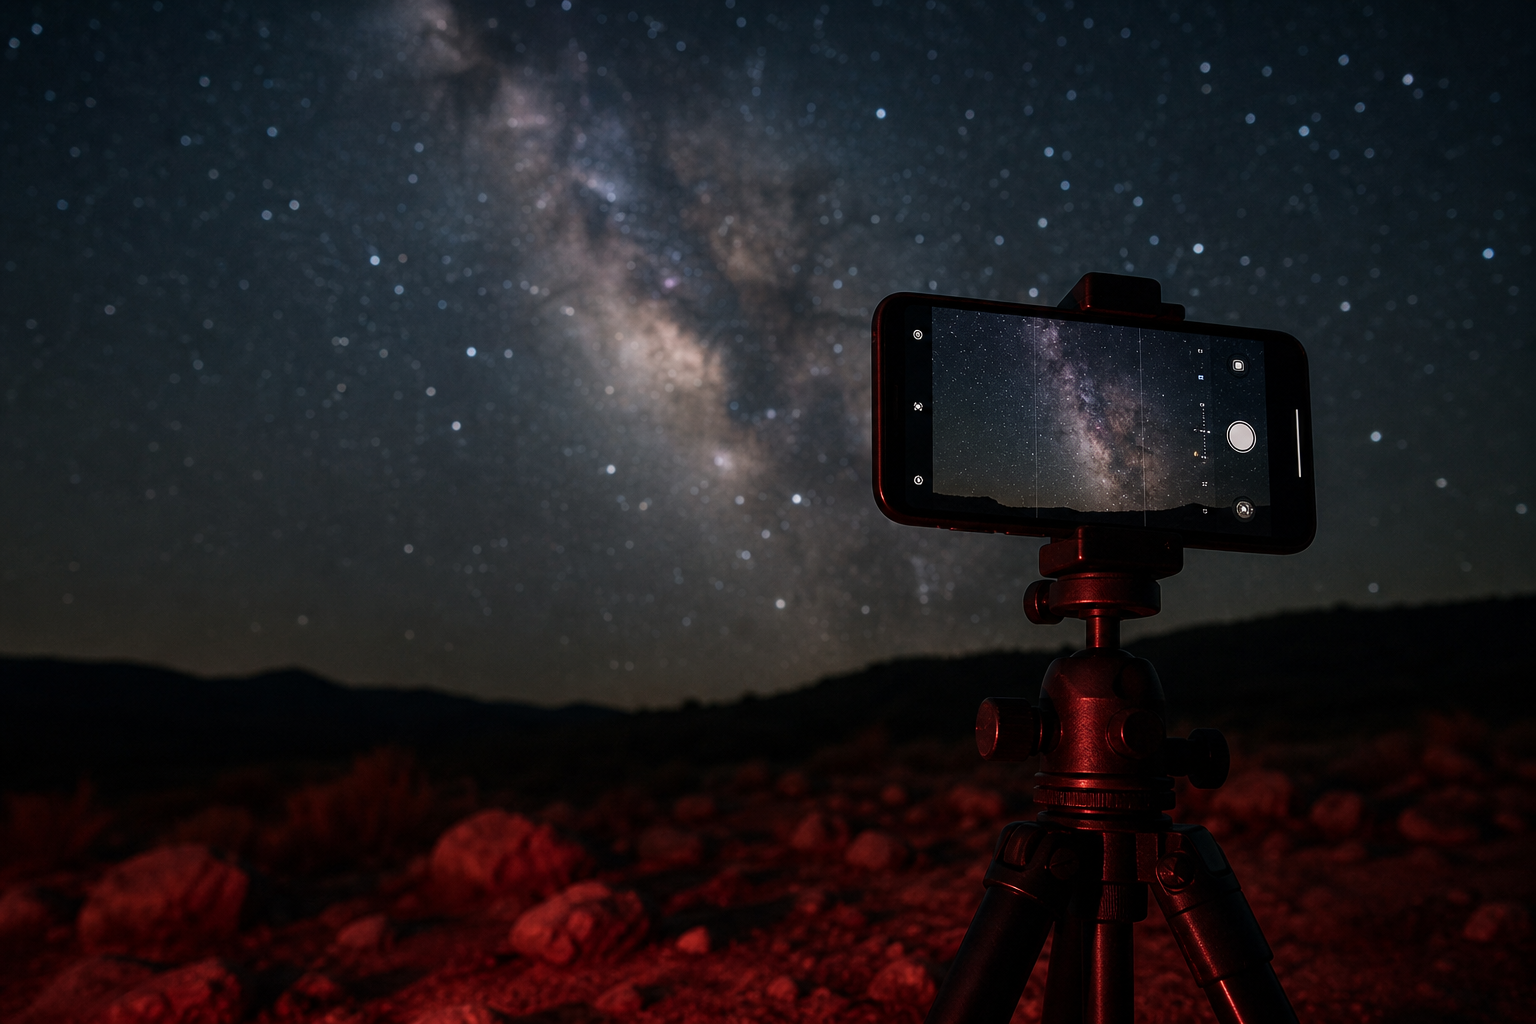
Phone plan: one careful frame beats a hundred rushed ones
Modern phones can make a pleasing night-sky image, especially when they are fully supported. Open the phone’s night mode, mount it horizontally, and set a timer so tapping the shutter does not shake the tripod. Turn off flash. If the phone offers an exposure slider, make a few tests at the longer end—but do not assume maximum is always best if stars turn into short trails.
Aim toward the southern sky after it is fully dark. Include a foreground such as a ridge, tree silhouette, or rock formation; it gives the photo a sense of place and helps the sky read as huge. Take three or four frames with tiny composition changes. Later, pick the sharpest one instead of trying to rescue every file with aggressive editing.
If your phone only records a black sky, that is useful information: the site may be too bright, the camera may be hunting for focus, or thin haze may be scattering light. Move toward a darker horizon and try again. For another low-gear win, our guide to finding the Summer Triangle from a city balcony is a great follow-up for a different kind of July sky session.
Entry-level camera plan: use a wide lens and keep it simple
With a DSLR or mirrorless camera, start with the widest lens you have—often 18mm to 24mm on an APS-C kit lens. Shoot RAW if you can. Manual focus is important: in live view, magnify a bright star and focus until it is the smallest crisp point, then avoid touching the focus ring.
A sensible first test is a wide aperture, ISO 1600–3200, and a 10–20 second exposure. The right combination depends on focal length, sensor, sky brightness, and heat, so treat those numbers as a starting point, not a promise. Review at 100%: if stars are streaking, shorten the exposure; if the sky looks orange or gray, lower ISO or move to a darker place. Take several identical frames once you like the result.
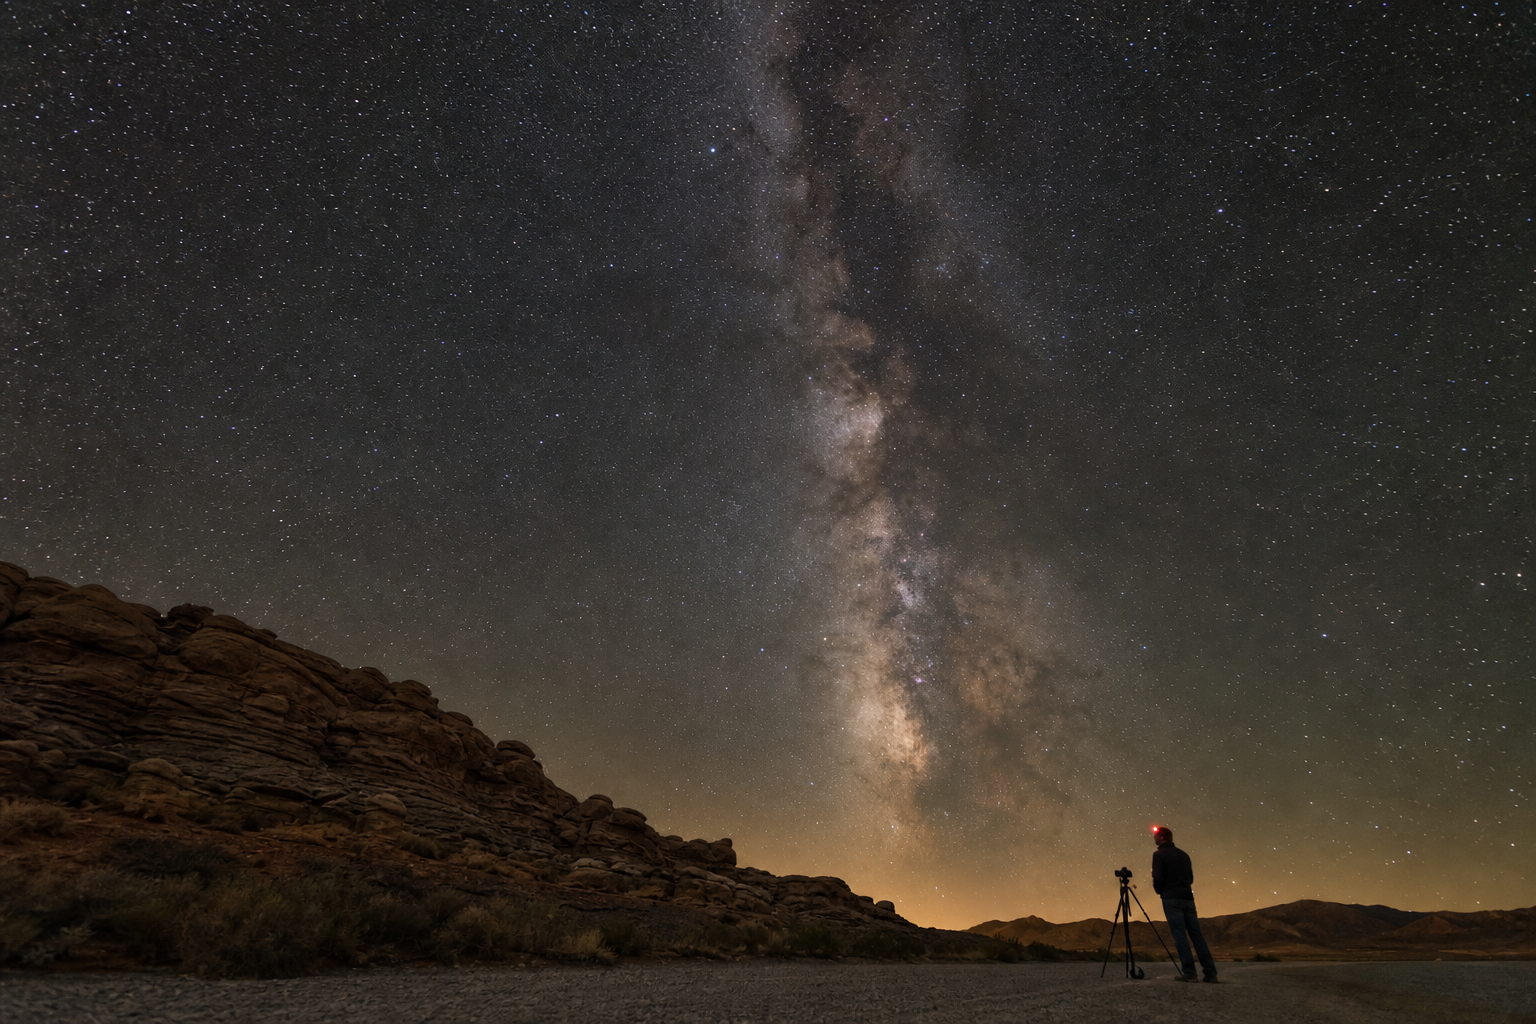
Make the photo feel like a place, not a technical exercise
The Milky Way is impressive on its own, but foreground is what makes your image yours. Put a road, ridge, oak silhouette, desert boulder, or observatory dome in the lower third. Keep the horizon level. Leave room for the sky to breathe. Do not light-paint a scene you do not have permission to enter, and never step off a trail for a frame.
It is also completely fine if the galaxy is faint in your first photo. A realistic first result often looks like a soft, textured band with a little color—not the neon, hyper-detailed image that heavy processing can create. Capture a clean file tonight; learn editing after you have slept.
The considerate dark-sky checklist
- Use red light and point it down.
- Keep headlights and interior lights from washing out the group.
- Photograph only from places open to the public or where you have permission.
- Tell someone your plan, watch footing, and leave no trace.
- If someone nearby is exposing a frame, ask before walking through it with a light.
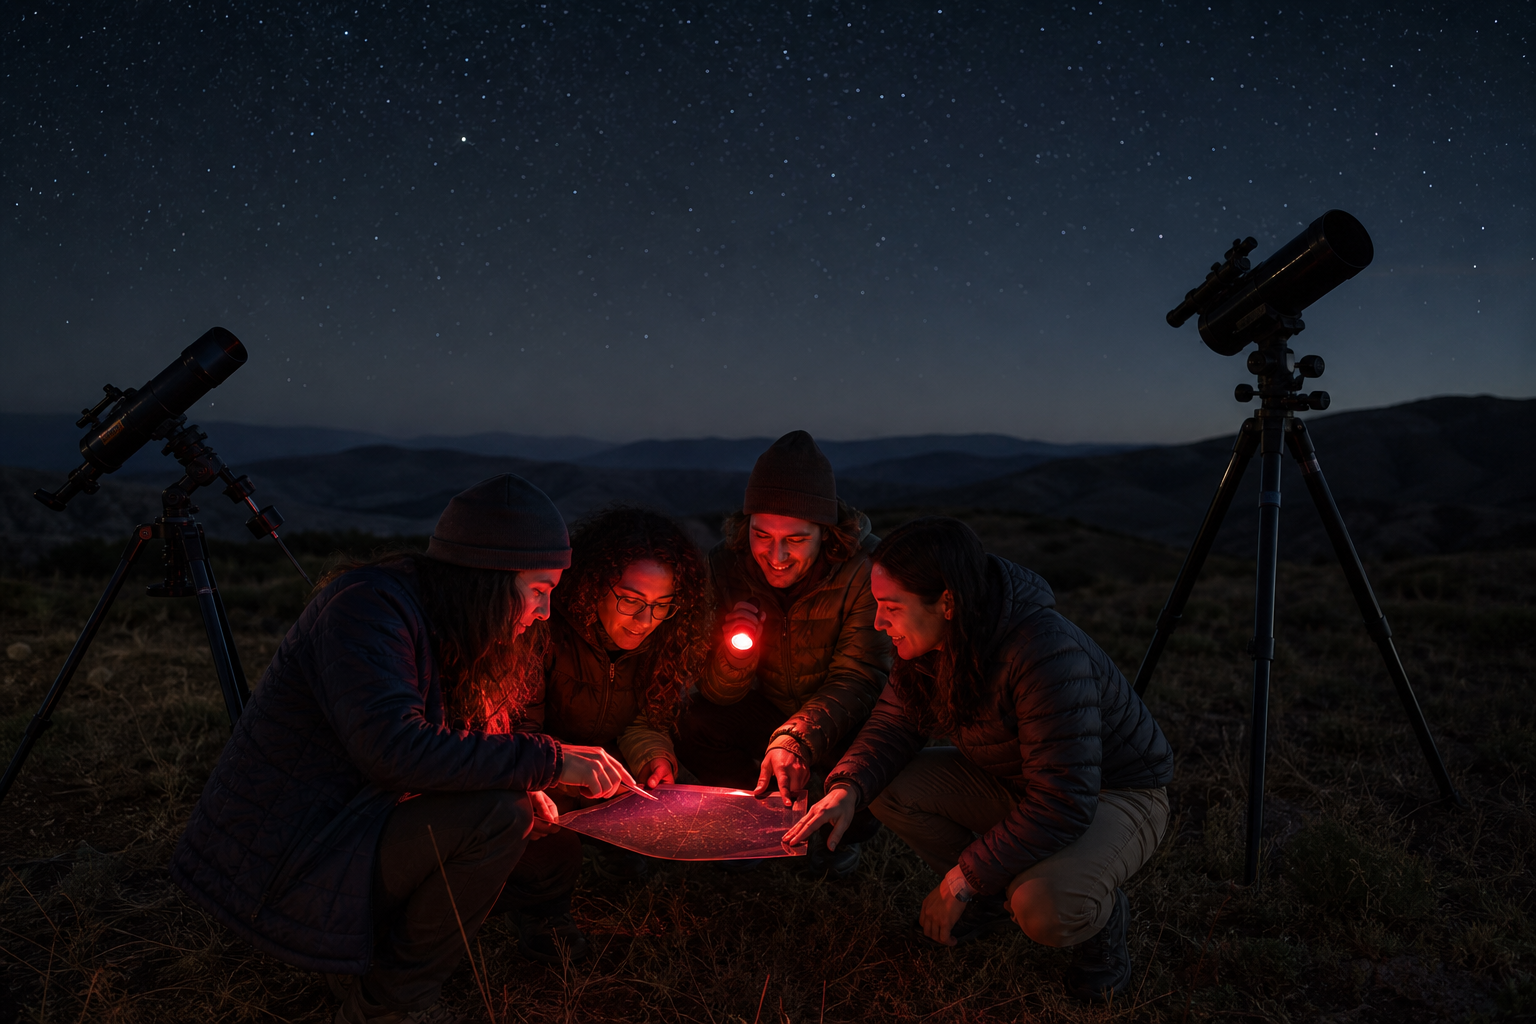
Make it a night out, not a solo gear test
A new-Moon outing is easier when someone can hold the map, check the forecast, or simply celebrate the first usable frame with you. If you want a more structured Los Angeles evening, start with our Mount Wilson public star party first-timer plan. Wherever you go, you can sign up free for Cosmic Match to find people who get why a clear forecast can feel like an invitation.
Tonight’s goal is modest: get safely to a dark, legal spot, point south after dark, stabilize the camera, and make a few deliberate frames. The July new-Moon window makes that plan worth trying—no expensive telescope required.
Source: NASA’s July 2026 Skywatching Tips, accessed July 15, 2026.
Get sharper phone stars first
Before you head out, use our beginner guide to focusing a smartphone camera on stars to lock in sharp focus and a steady setup.