How to Photograph the Moon With a Phone From a City
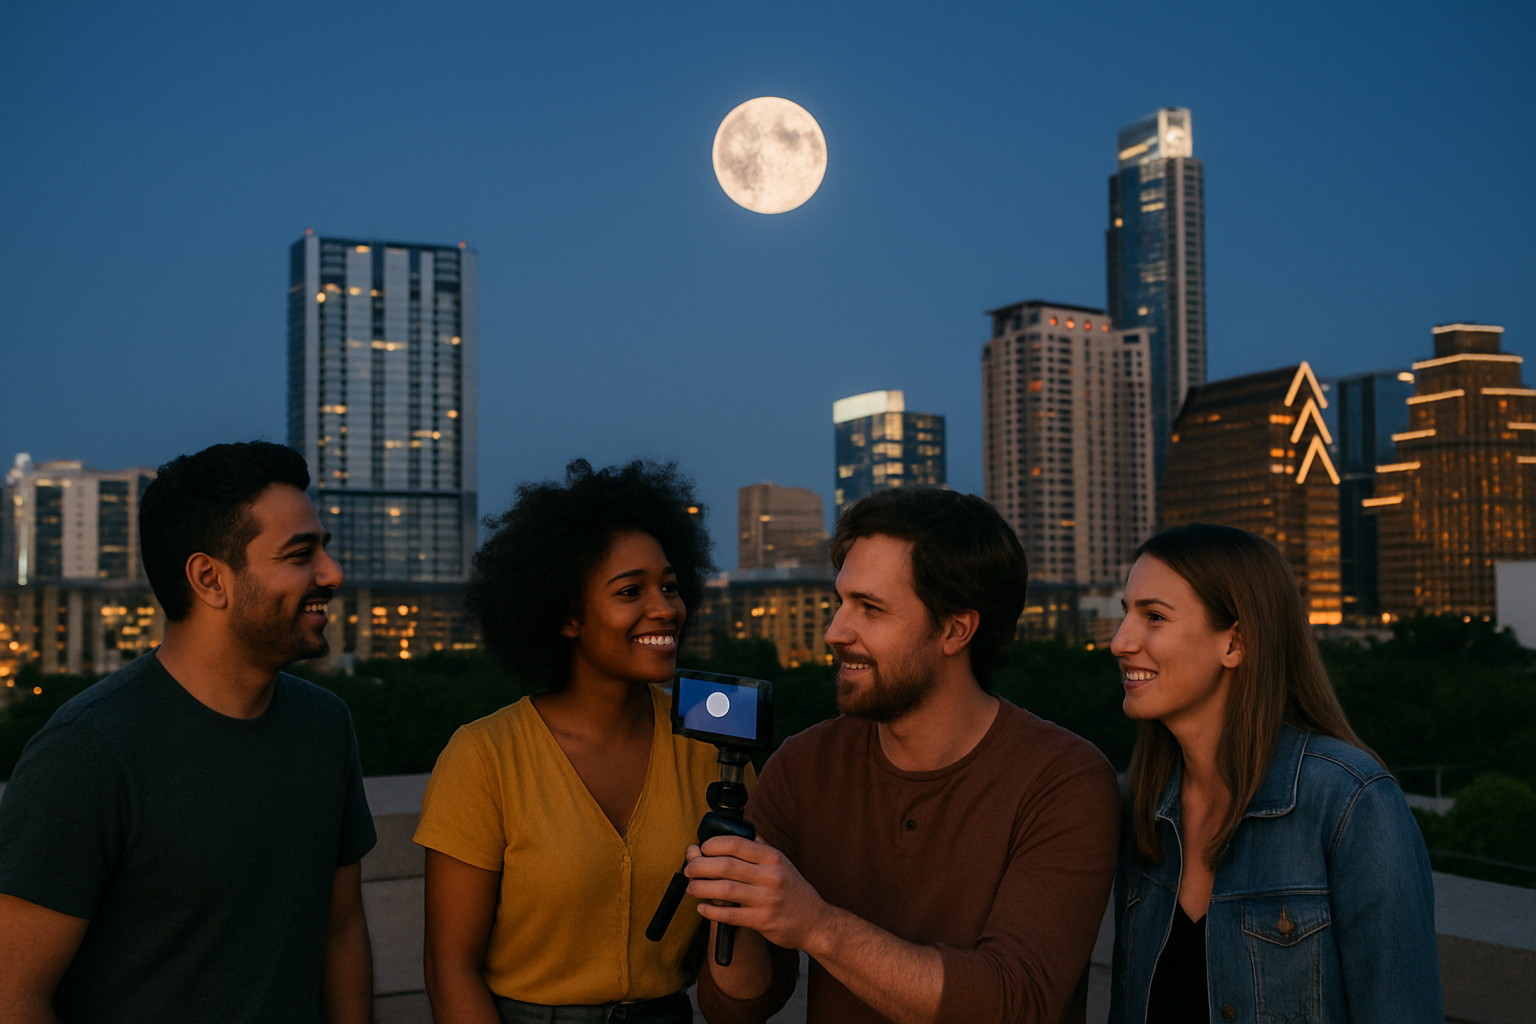
You can photograph the Moon from Austin with the phone already in your pocket—no telescope, long lens, or perfectly dark sky required. The winning combination is simple: shoot when the Moon is low enough to pair with a foreground, keep the phone absolutely still, and protect the Moon’s bright detail by tapping it and lowering exposure. Expect a small but recognizably textured Moon in a scene, not a giant lunar close-up. That is a real, good photo.
This is a city-photography guide for beginners, timed for eclipse week but deliberately not an eclipse schedule. It works on ordinary clear evenings from a balcony, park, or rooftop. Bring a friend, compare frames, and make the city part of the story.
What do you need to photograph the Moon with a phone?
Start with four things:
- A clean rear camera lens (a microfiber cloth helps more than most settings).
- A stable support: a mini tripod is ideal, but a railing, backpack, or solid ledge can work.
- A clear view toward the Moon, with a building, tree, mural, bridge, or skyline available for a foreground.
- A few unhurried minutes. You will get a better image by making small adjustments than by chasing the first snap.
Use the rear camera, not the selfie camera. Avoid digital zoom as your default: it enlarges pixels rather than adding detail. If your phone has an optical telephoto lens, try it; otherwise shoot at 1× or the cleanest native zoom option and crop later.
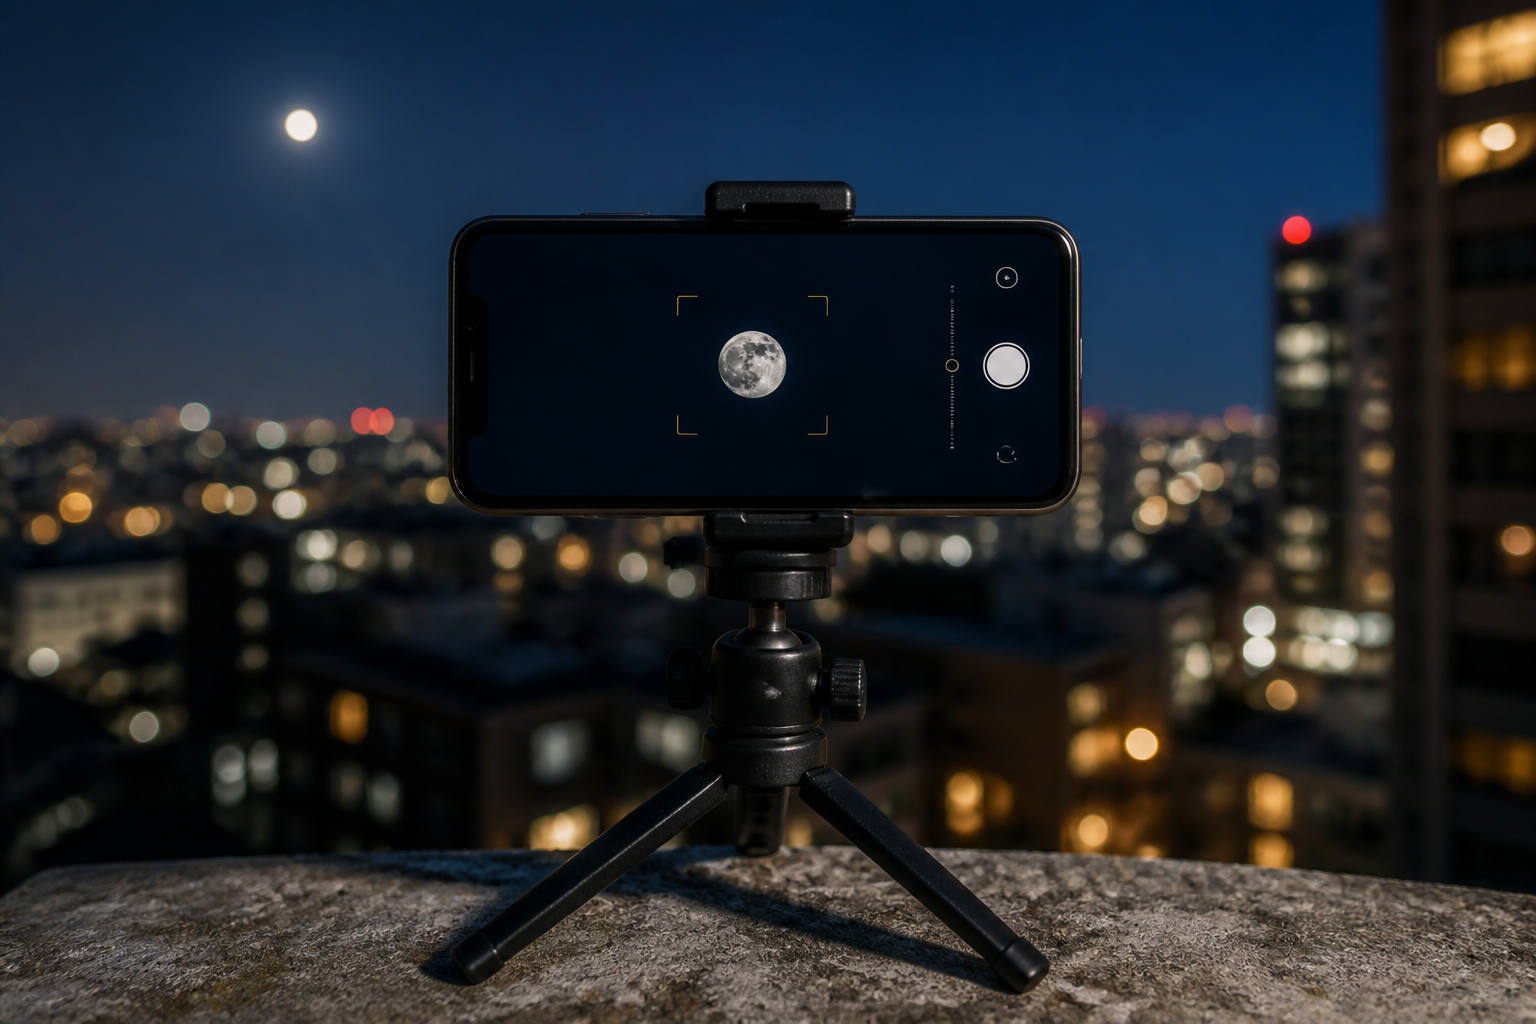
Steadiness matters more than a fancy camera mode. A small tripod or firm ledge keeps the Moon crisp while the phone captures.
When should you take a phone Moon photo in Austin?
For a Moon-with-city photo, the sweet spot is usually near moonrise or moonset, while the sky still carries blue or amber color and landmarks are visible. A bright Moon in a fully black sky often becomes a tiny white dot with no context; a low Moon gives you layers. Check its direction and rise/set time in a sky app, then choose a safe public place with an open sightline.
From central Austin, skyline viewpoints, East Austin rooftops with permission, and hilltop parks can all provide foreground options. Respect closing hours, private property, and any posted rules. If you are scouting with other local sky fans, join the Cosmic Match community to find people who enjoy the same patient, nerdy kind of night out.
City glow is not the enemy here. It makes deep-sky work harder, but the Moon is bright enough to photograph from town. Just keep a streetlight out of the lens and shade the camera with your hand if flare appears.
How do you focus and expose for the Moon?
The Moon is sunlit and much brighter than the sky around it. That is why an automatic phone exposure can turn it into a featureless white coin. Point the camera at the Moon, tap it on screen, then drag the exposure control downward until the bright disk shows gray texture instead of clipping to white. On iPhone, touch and hold the focus area until AE/AF Lock appears; Apple documents this as the way to lock focus and exposure before adjusting brightness. Android layouts vary, but the same principle applies: tap the Moon to meter, then reduce brightness.
Take a short series rather than one shot. Make one frame slightly darker than you think you need, one at your first setting, and one a touch brighter. The darker frame often keeps crater contrast; the brighter one can keep the foreground usable.
If your phone offers Night mode, test it, but do not assume it is best for the Moon. Long exposure modes are designed for dim scenes and can overexpose a bright lunar disk or blur it if the phone moves. A Pixel’s dedicated Astrophotography mode, for example, is intended for a dark area and a completely stable phone; Google explicitly recommends a stand or tripod. Save that mode for stars, not this bright-Moon foreground shot.
A quick city-Moon shooting routine
- Clean and stabilize. Wipe the lens, turn off flash, set the phone on a tripod or solid support, and start a 3-second timer.
- Build the frame first. Place a tower, tree, bridge, skyline, or a friend’s silhouette in the lower half. Leave room around the Moon; it should not need to be huge to read.
- Meter for the Moon. Tap the lunar disk, lower exposure until its surface stops looking like a blank white circle, then lock focus/exposure if your camera allows it.
- Shoot several versions. Try native 1×, then your phone’s optical zoom if it has one. Nudge the composition, not just the zoom button.
- Review at full size. Look for sharp edges on the Moon and no camera shake. If it is soft, stabilize again before changing settings.
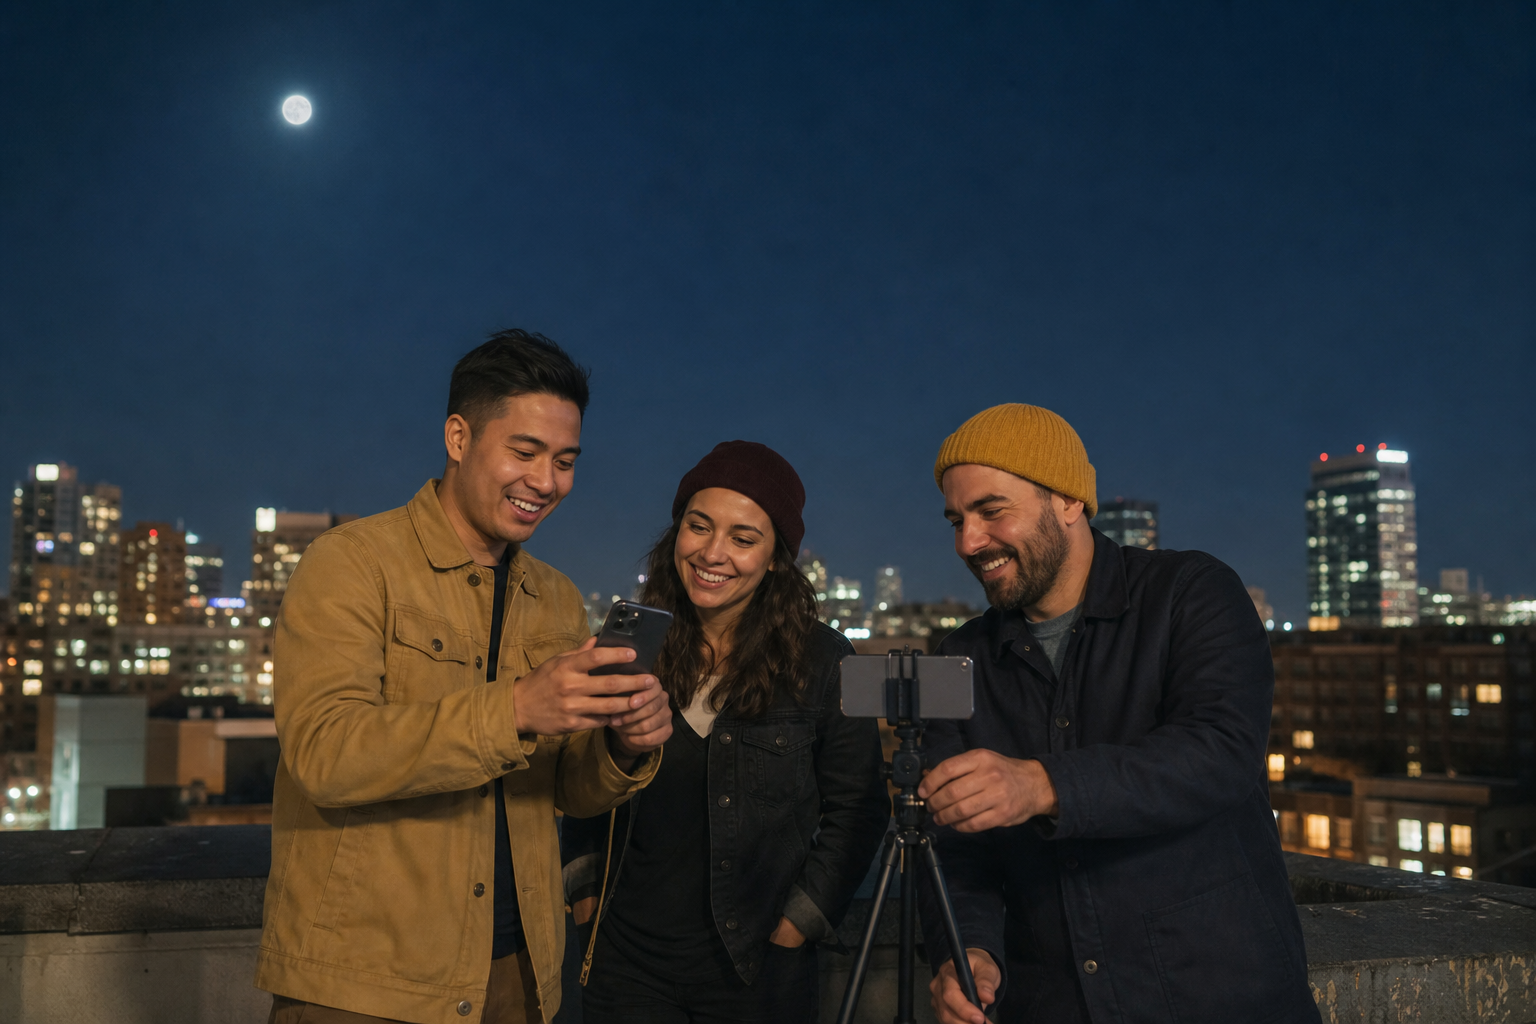
Make it social: comparing three slightly different frames is a faster way to learn than guessing alone.
How can a city foreground make a Moon photo better?
A foreground solves the most common beginner disappointment: the Moon looks smaller in a phone photo than it looked to your eyes. That is normal. Your eyes and brain are excellent at making the low Moon feel enormous; a wide phone lens shows the whole scene. Lean into the scene instead of fighting it.
Try these compositions:
- Moon + Austin skyline: use the low Moon as one clean visual element, with the skyline carrying scale.
- Moon + trees: frame it above a dark oak canopy; branches add texture without competing for attention.
- Moon + architecture: a water tower, church steeple, bridge, or apartment rooftop can make a photo feel rooted in a place.
- Moon + people: photograph friends setting up, looking upward, or holding a small tripod—keep the moment candid rather than posed.
Move your feet. A few yards can separate the Moon from a cluttered sign or place it over a clean roofline. If you want more context for a broader night out, our guide to focusing a smartphone camera on stars covers the steadiness and focus habits that transfer well once the Moon has set.
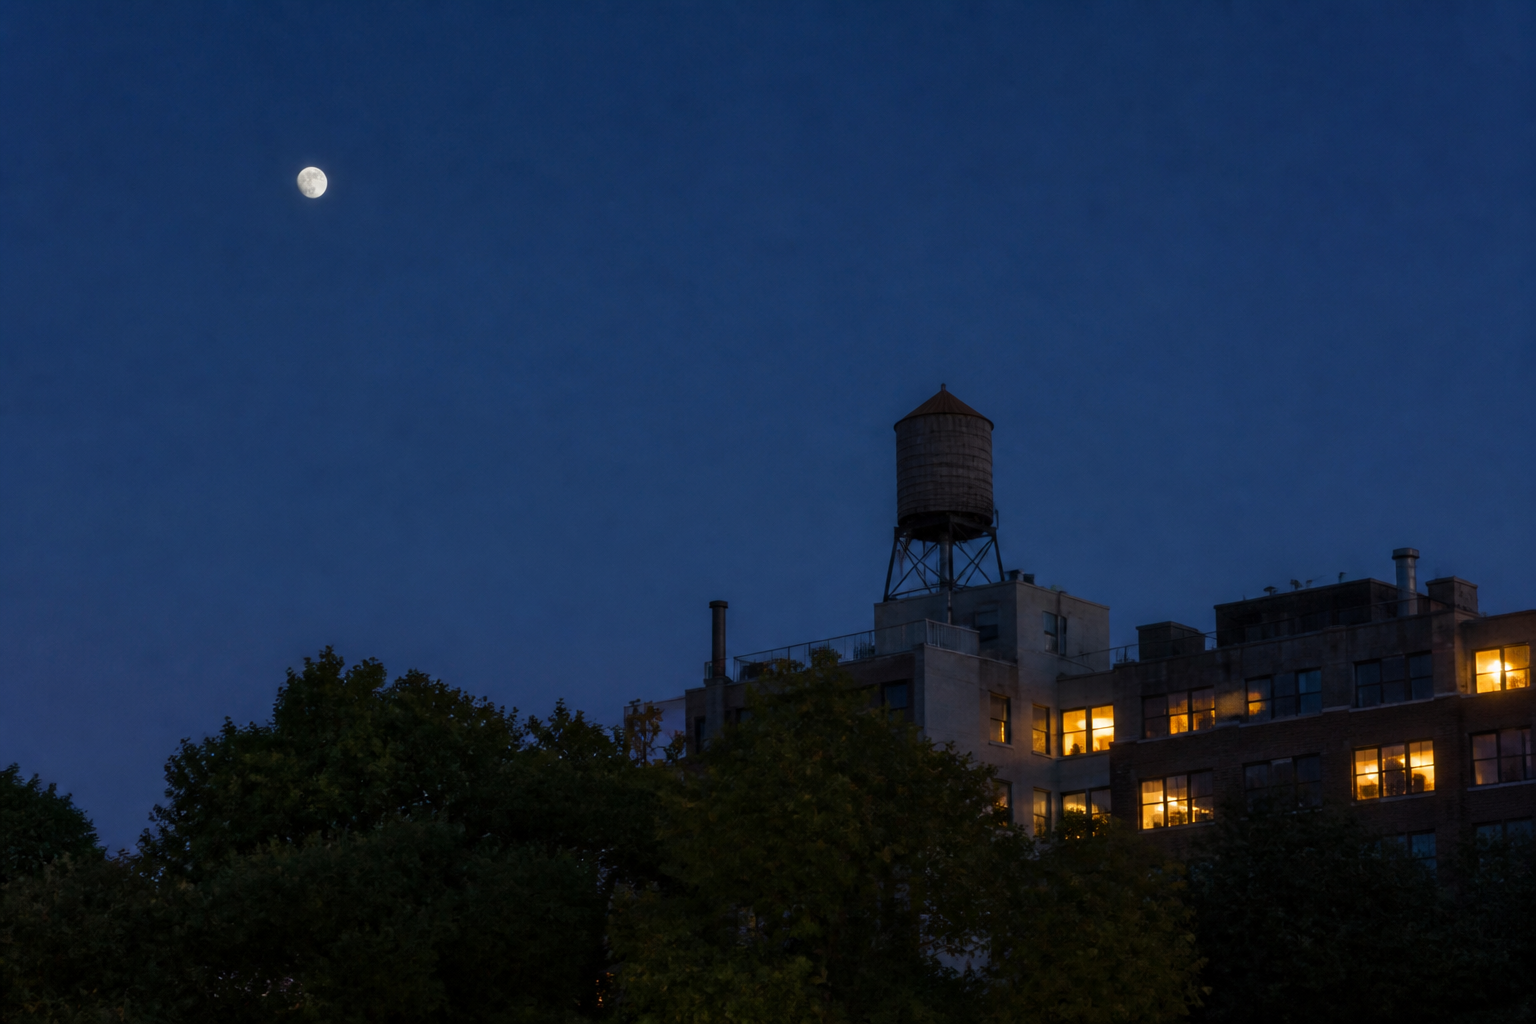
Foregrounds give a phone Moon image scale, place, and a reason to linger on it.
Edit lightly so the Moon still looks like your night
Editing is where a solid capture becomes shareable. Start with the original rather than a screenshot. Lower highlights until lunar texture returns, lift shadows only enough to show the foreground, and add a little contrast or definition if your editor offers it. Resist pushing sharpness, saturation, and clarity until halos appear around the Moon or the sky turns crunchy.
Crop to strengthen the composition—not to manufacture a Moon close-up. A 4:5 crop works well for social posts when a vertical building or person is part of the frame. Keep a wide version too; it tells the fuller story of where you were.
Common phone Moon photography problems—and fast fixes
The Moon is a glowing blob. Tap it, lower exposure, and take another frame. If the phone keeps brightening everything, move a little so the foreground is less dark or let the foreground remain silhouetted.
Everything is blurry. Use a timer, stabilize the phone, and do not touch the screen at the instant it fires. Wind can matter on a light tripod—shorten the legs or shield it.
The Moon looks tiny. Make a scene photo with a strong foreground. Then take a second, tighter frame if your phone has optical zoom. A tiny Moon can be intentional when the composition is good.
Streetlights create a haze. Reframe so the lamp is behind you or outside the lens; wipe the lens again.
My photo is flat. Photograph earlier, when the sky still has color, or wait until the Moon aligns with a landmark.
The best part of this kind of photography is that it gives an ordinary evening a small mission. Take the first usable frame, then trade tips with people who get why moving ten feet for a better roofline is completely reasonable. Meet local stargazing friends on Cosmic Match and bring your next Moon photo to the conversation.
FAQ
Can I photograph the Moon with a phone without a telescope?
Yes. A phone can make an appealing Moon-in-a-city-scene photo with a stable support, lowered exposure, and a good foreground. A telescope is only needed for a much tighter lunar view.
Why does the Moon look smaller in my phone photo?
Most phone cameras use a wide lens, which captures lots of sky and makes the Moon occupy fewer pixels. Use a foreground deliberately, try an optical telephoto lens if available, and crop modestly afterward.
Should I use Night mode for Moon photos?
Test it, but start with normal photo mode. The Moon is bright, so Night mode can overexpose it or make it soft; a short, steady exposure often preserves more lunar detail.
What is the easiest phone setting to change first?
Tap the Moon and drag exposure down until you can see tone and texture on its surface. Then use a short timer so tapping the shutter does not shake the phone.
Sources
- Apple: set up an iPhone shot (focus, exposure, and AE/AF Lock)
- Google Pixel Camera Help: low-light and night photography (Night Sight, stable support, and far focus)