How to Focus a Smartphone on Stars: A Beginner Night-Sky Setup
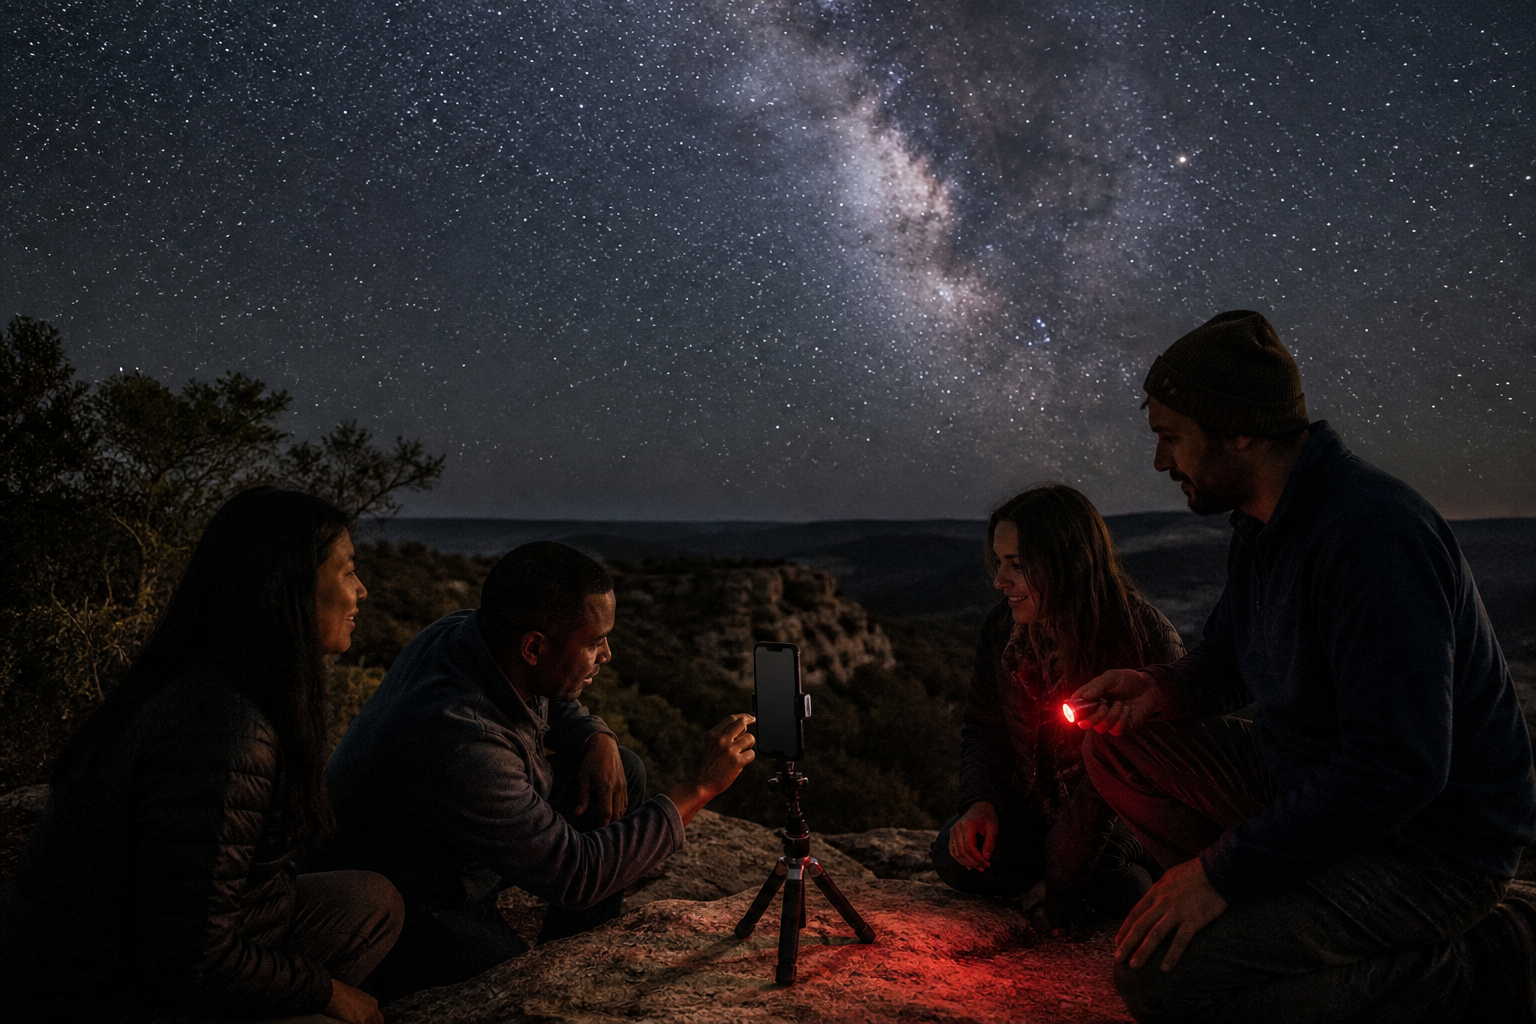
A phone, a stable support and a dark-enough patch of sky are enough to make a first recognizable star photo. The part that decides whether those stars look like pinpoints or fuzzy blobs is focus—not an expensive camera. Start about 30 minutes after sunset, choose one bright star or distant light, lock focus on it, then keep the phone absolutely still for the exposure.
This guide is deliberately device-neutral: camera apps and menu names differ. If your phone offers manual/pro controls, use them; if it does not, use the built-in camera’s focus lock and timer. The aim is the same: give the lens one bright, distant target, then stop it from hunting.
What is the fastest way to focus a phone camera on stars?
Put the phone on a tripod, aim at the brightest star or planet you can find, and tap it until the point becomes smallest and crispest. In a manual/pro mode, move the focus control toward infinity, then back it off slightly if the star stays bloated. “Infinity” on a phone is a starting point, not a universal perfect setting—tiny lens tolerances mean the sharpest point can sit just before it.
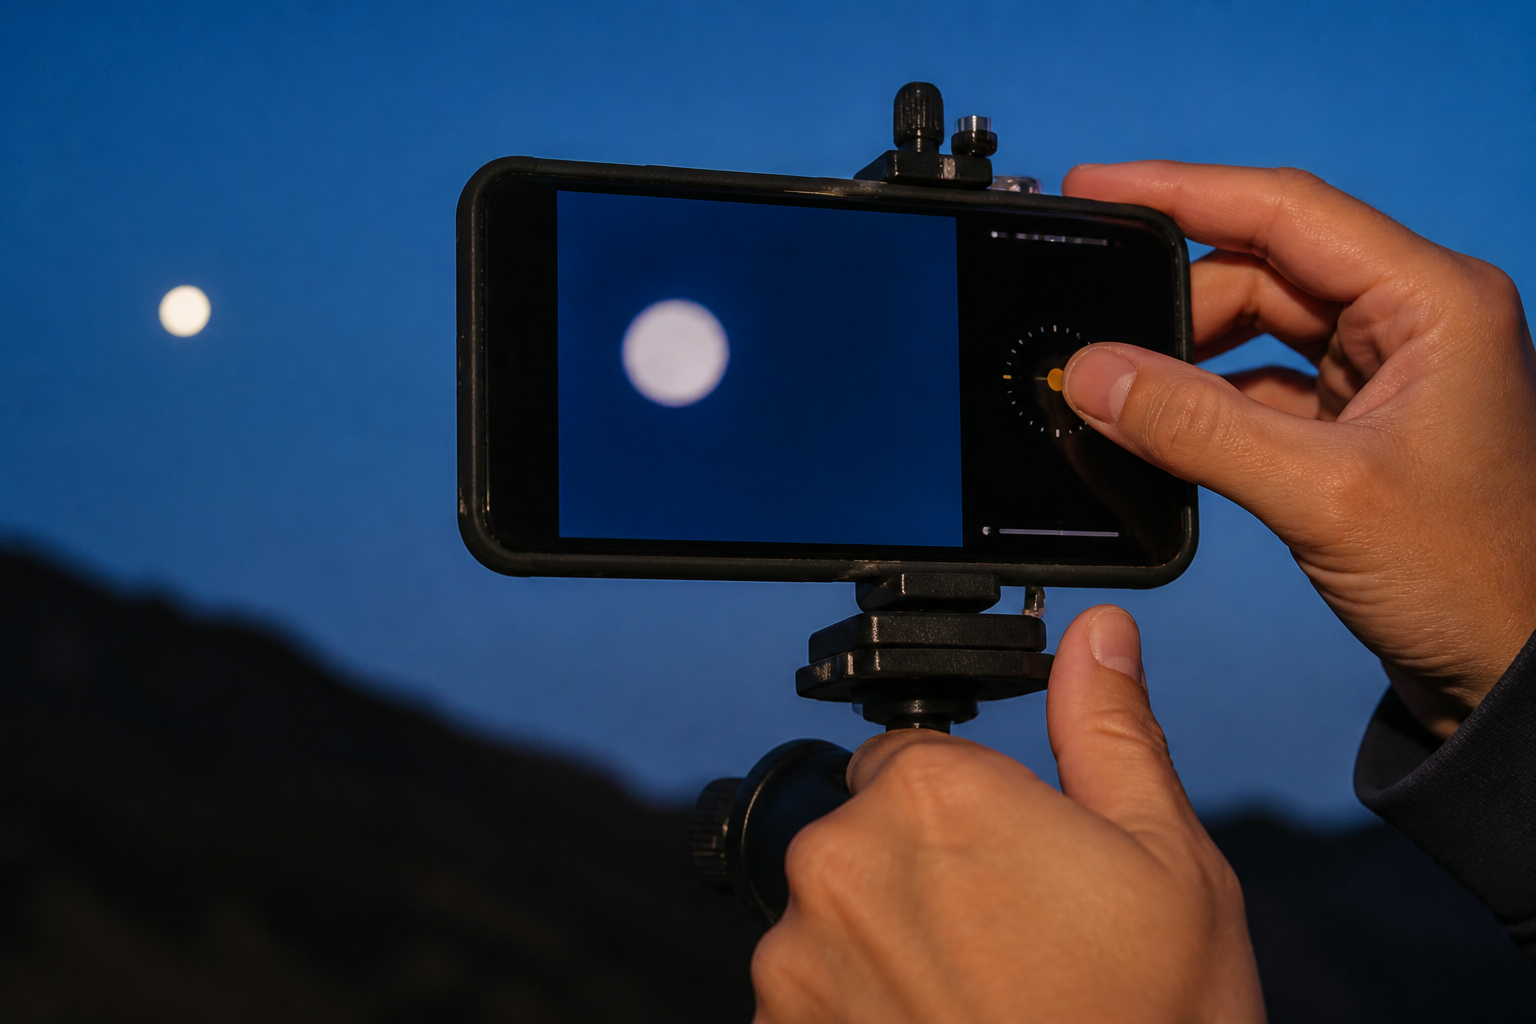
Turn off flash and use the rear camera. Clean the lens with a microfiber cloth; a fingerprint can turn every bright star into a glowing smear. If you have a focus/exposure lock, enable it once the star is smallest. Otherwise, avoid tapping the screen after you have found focus.
A bright planet, the Moon’s edge, or a faraway antenna light can be a useful focusing stand-in when the sky is still too blue to see many stars. Once you lock focus, swing back to the constellation or patch of sky you want to photograph.
Before you turn to the stars: photograph the Moon
The Moon is a friendlier first night-sky subject because it is bright enough for a short phone exposure in the city. For a practical Austin setup covering exposure lock, stable support, and city foregrounds, read How to Photograph the Moon With a Phone From a City.
Do I need a tripod to photograph stars with a phone?
For a dependable result, yes—or at least a rigid substitute. Night mode and long exposures collect light for several seconds, so even a tiny hand movement becomes blur. A pocket tripod, a clamp on a solid railing, or a phone propped securely against a backpack can work. Keep safety first: do not balance a phone where it can fall or block a path.
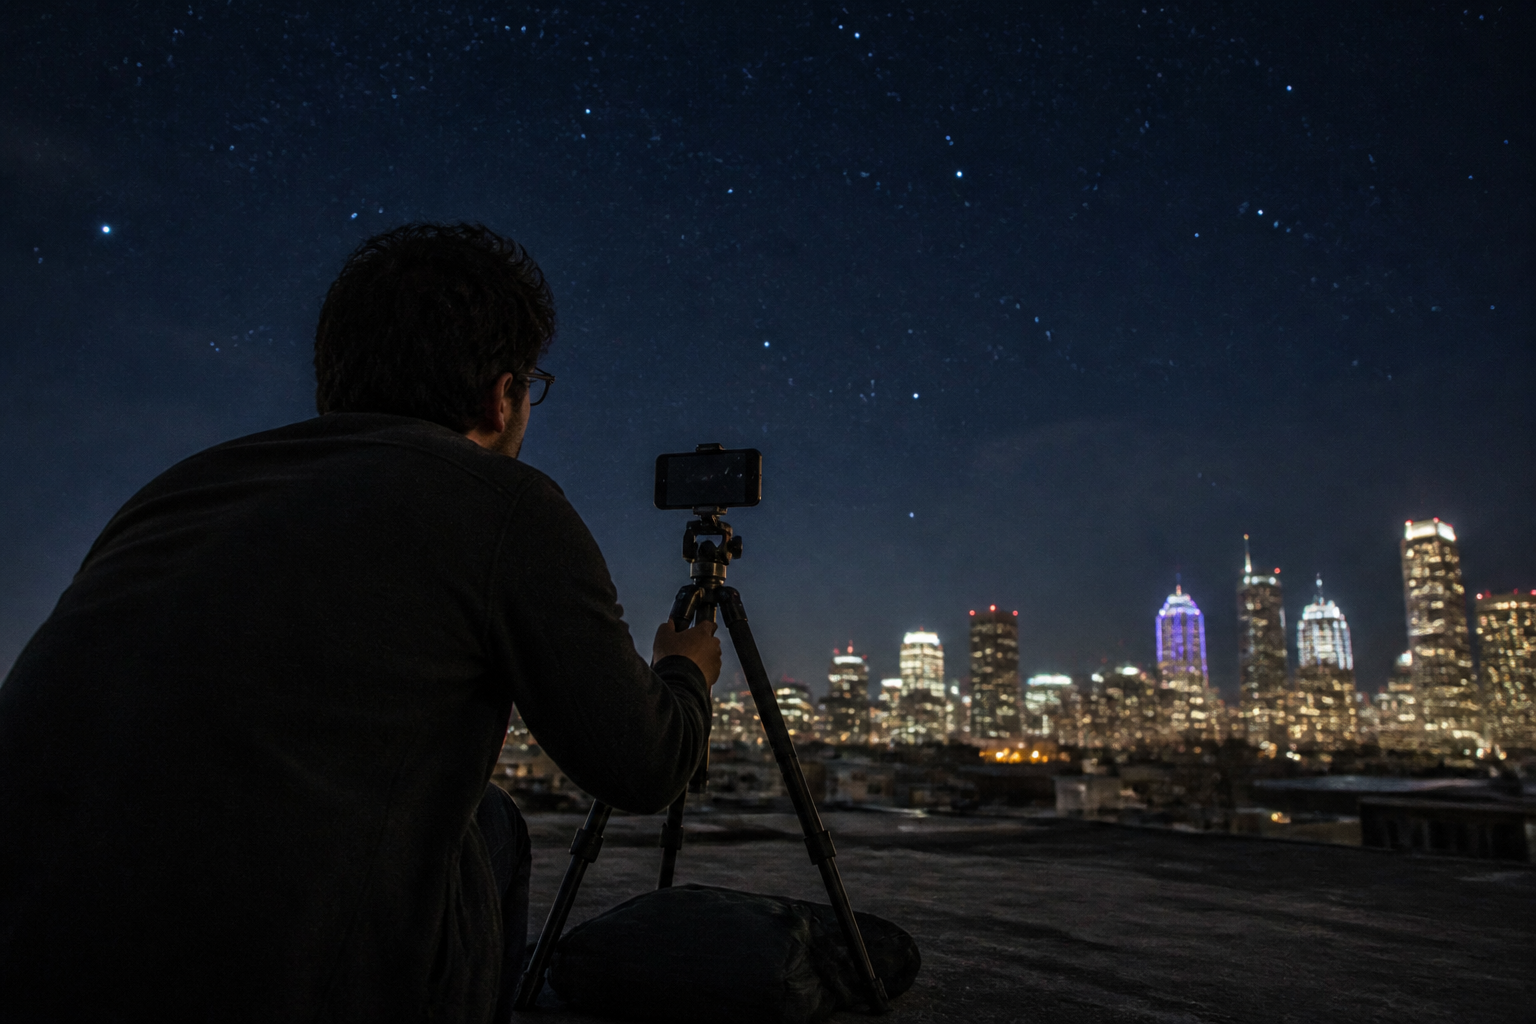
Use a 2- or 3-second timer, a remote shutter, or wired headphones if your phone supports a shutter button. That removes the wobble caused by pressing the screen. If the phone allows it, turn off image stabilization only when it is fixed firmly to a tripod; some phones handle long exposures better when they know they are stationary.
A simple exposure starting point
There is no one setting that fits every phone, sky, or night. City glow, Moon phase, cloud haze and the phone’s sensor all change the answer. Treat these as a method, not a recipe:
- Start in Night mode or manual/pro mode. Let Night mode make a first exposure; in manual mode, begin with the longest exposure your app offers without turning the sky pale gray.
- Keep ISO moderate when you can. Raising ISO brightens the preview, but it also makes noise and aggressive noise reduction more likely. Compare one brighter frame with one darker frame at the same focus.
- Protect the bright parts. If stars become fat white dots or the skyline washes out, shorten exposure or reduce exposure compensation a little.
- Review at full size. A photo can look sharp on the camera preview while stars are streaked or smeared once you zoom in.
For a first target, choose a familiar constellation rather than the Milky Way. A clear pattern of stars is easier to frame and to judge for sharpness. Once you have the rhythm, our Milky Way phone-and-tripod plan is a natural next challenge.
Why do stars still look blurry after I set focus to infinity?
Usually, the phone changed focus after you touched the screen, the lens is dirty, or the exposure is showing movement rather than focus error. First, make one test shot of a bright star while the phone is locked down. Zoom into that image: a round but large blob points to focus; a short dash points to shake or a too-long exposure; a weird halo often points to a smudged lens or haze.
Try this quick reset:
- Clean the lens and remove any case or clip-on lens that reflects light.
- Re-focus on a bright target, then lock focus/exposure if available.
- Use the timer and take three identical frames without moving the tripod.
- Compare them at 100% zoom. If each frame has the same soft star, nudge focus a tiny amount and repeat.
Humidity matters, too. In Austin’s warm evenings, lens fog can sneak up on you; give the phone a moment to acclimate and gently wipe condensation if it appears. Cloud, smoke and urban glow can limit detail even when focus is perfect—that is a sky-condition problem, not a failure of your setup.
Keep the detail your phone captured
After the shot, resist the urge to max out every editing slider. Start with a modest crop and lower highlights if the sky looks washed out. Add contrast sparingly; heavy sharpening can make stars look crunchy or create dark rings around bright objects. Save the original before editing, then compare your edit with the original at full size.
A little planning helps more than a fancy filter. Check cloud cover, Moon phase and the time a constellation rises; NASA’s Skywatching hub is a handy authoritative starting point for what is up this month. If you want a public, low-pressure place to practice, explore an Austin stargazing community and ask what people are photographing that night. You will get local tips on safe viewpoints, where city light is least distracting and whether haze is likely.
Make your first session social
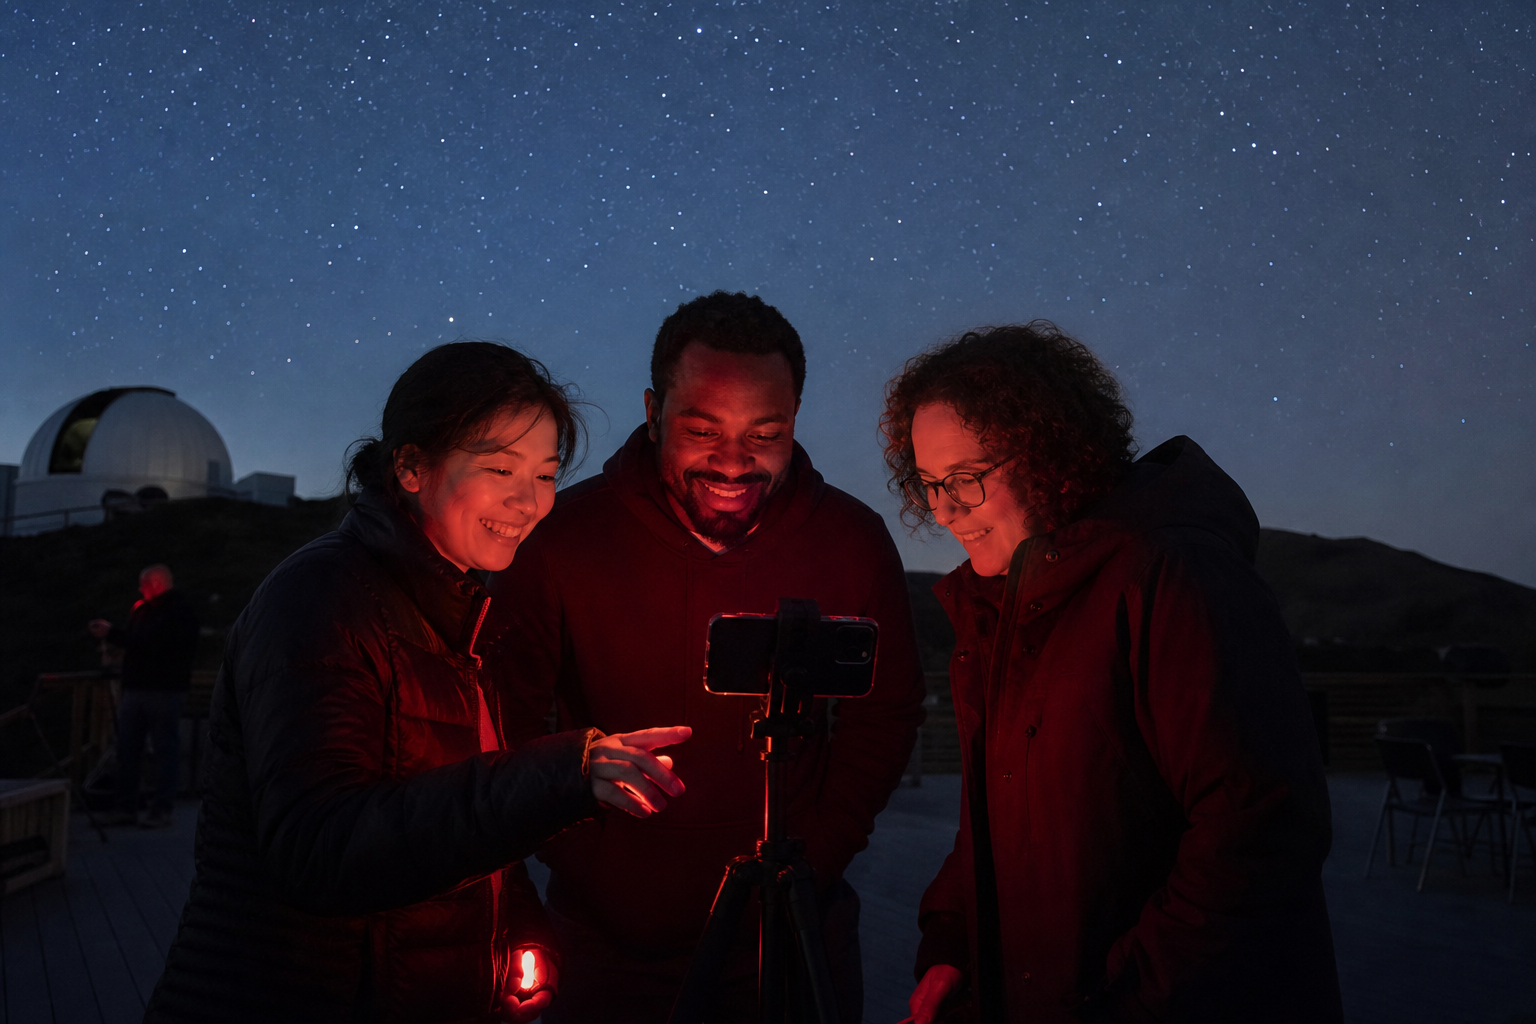
Phone astrophotography gets easier when you can compare a few attempts side by side. Bring a friend to a public observing night, take turns holding a red flashlight low, and let everyone try the same bright target. You will quickly see the difference that a steady tripod and one locked focus point make.
Cosmic Match is built for people who want to share the sky, from first-time phone shooters to seasoned observers. Join the community at Cosmic Match to find local conversation, plan a low-key observing night and swap your first successful star frames. If your photo is more deep-sky than constellation, you can also explore Rubin’s public COSMOS image for a very different kind of phone-friendly sky exploration.
FAQ
Can a smartphone really photograph stars?
Yes. A phone can capture bright stars and constellations when it is held still, focused carefully and used under a reasonably dark, clear sky. Results vary by phone and conditions, so begin with a bright pattern rather than faint deep-sky detail.
Should I use Night mode or manual mode for stars?
Start with Night mode if it produces a stable, sharp frame; it is often the fastest route to a first result. Use manual/pro mode when you want direct control over focus, exposure and ISO, and make one change at a time.
Why are my phone star photos grainy?
Long exposures and high ISO produce noise, especially under city lights. Use a stable support, keep exposure only as long as necessary, and avoid over-brightening the image in editing.
What is the best first target for smartphone astrophotography?
A bright constellation or a very bright planet is ideal because it gives you clear points to focus on and an obvious pattern to frame. Save fainter targets for a darker night after you have practiced the basic setup.