How to Photograph the Summer Triangle After the Solstice
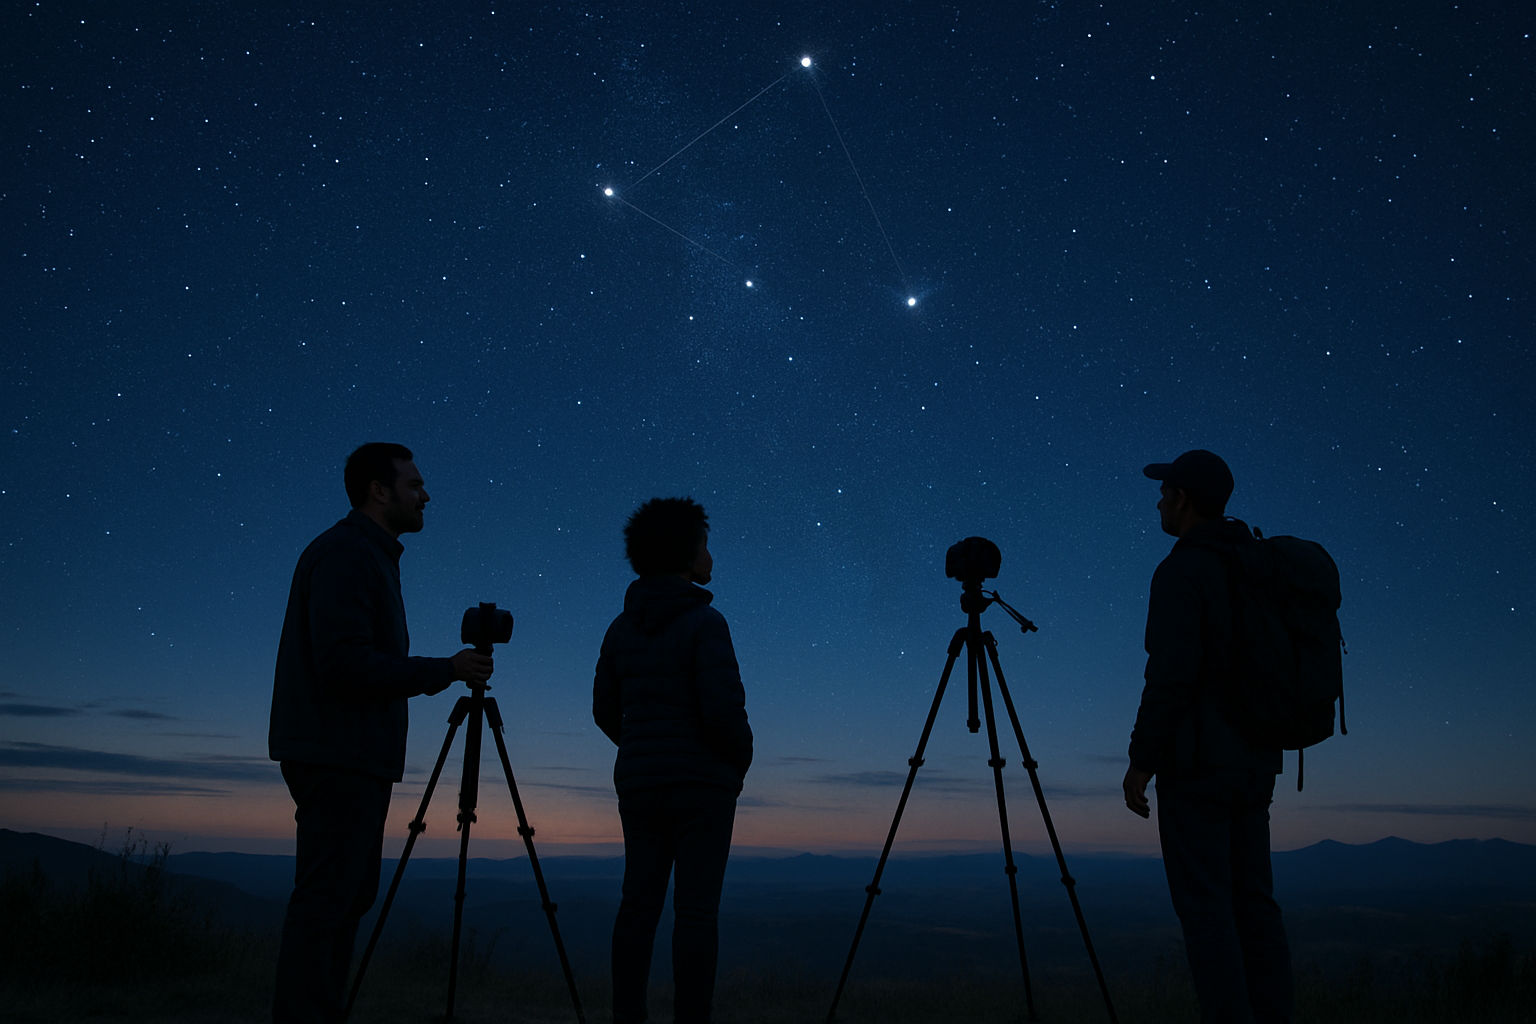
If you step outside in Austin tonight at 9:30 p.m. CDT, the sky will still hold a lot of blue, but Vega will already be doing its job. In Houston, full astronomical darkness does not arrive until about 10:01 p.m. CDT on June 22, 2026. In Austin it is about 10:13 p.m. CDT. In Los Angeles it is about 9:52 p.m. PDT. That late-darkness gap is exactly why the Summer Triangle is such a good post-solstice target: Vega, Deneb, and Altair are bright enough to beat the glow while you wait for the sky to finish darkening.
That makes this one of the most forgiving late-June photo plans for beginners. You do not need to chase a fleeting conjunction or a fragile low-horizon planet. You need a clear view, a stable tripod, and a realistic plan for when to start framing versus when to start your final exposures. If you already read our June solstice night-sky guide, this is the camera-first follow-up: how to turn that long-twilight problem into a photo advantage.
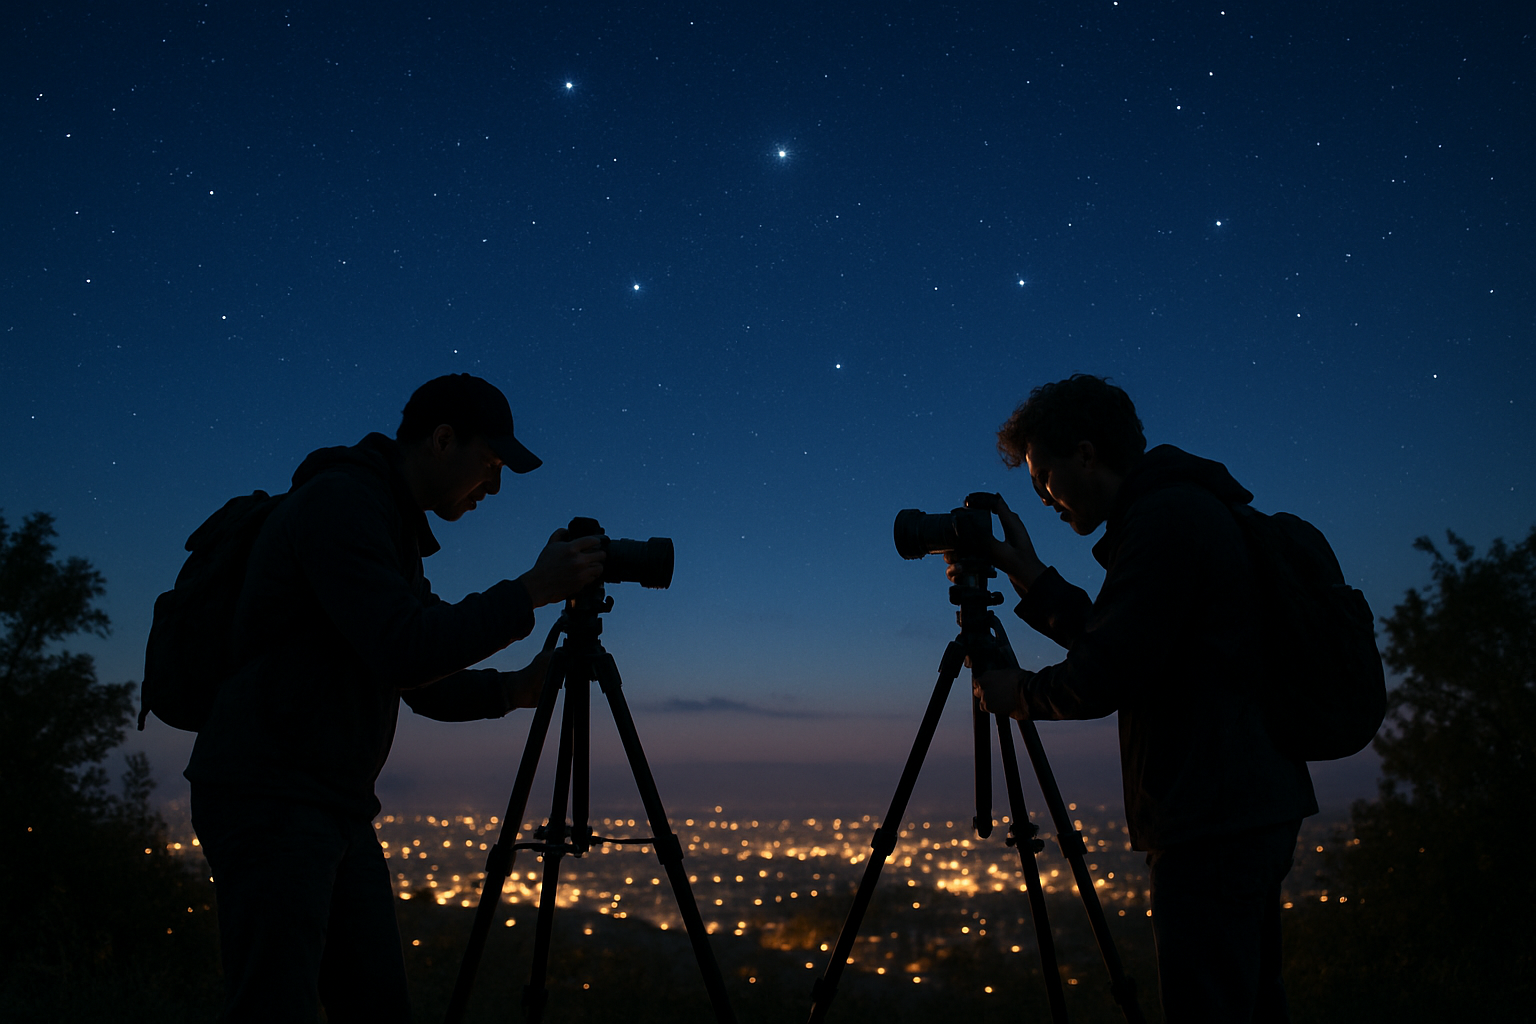 The Summer Triangle works in late twilight because the stars are bright enough to show up before the sky goes fully black.
Why the Summer Triangle Still Works After the Solstice
NASA describes the Summer Triangle as the three bright stars Vega, Deneb, and Altair, and notes that the pattern is visible even in light-polluted urban skies. That matters more this week than any abstract seasonal label. Right after the solstice, the U.S. gets its latest sunsets and some of its latest summer darkness. Faint targets suffer first. Bright geometric targets do not.
In practical terms, the Summer Triangle gives you three advantages at once:
- It shows up early enough to frame before full darkness.
- It is large enough for wide-field lenses and phones mounted on a tripod.
- It stays useful as the sky darkens, so you can start with test shots and then refine your composition instead of racing a target that is about to set.
NASA's Night Sky Network also points out that the constellations around the Triangle become easier to pick out as your eyes adjust. For photographers, that means your first shot can be simple and your later shots can get more ambitious. Start with the bright triangle. Then decide whether you want skyline context, tree silhouettes, or a cleaner star-field frame.
When to Start in Austin, Houston, and Los Angeles
The biggest beginner mistake after the solstice is waiting too long to begin. Full astronomical darkness is not the same as your first useful photo window. You can start composing earlier, especially if Vega is your anchor.
According to Timeanddate's June 2026 sun tables, here is the practical timing for Sunday, June 22, 2026:
| City | Sunset | Good time to start framing | Full astronomical darkness | What that means |
|---|---|---|---|---|
| Austin | 8:36 p.m. CDT | about 9:15-9:30 p.m. CDT | about 10:13 p.m. CDT | Great for a long blue-hour-to-darkness sequence, but be patient before judging sky contrast. |
| Houston | 8:25 p.m. CDT | about 9:00-9:15 p.m. CDT | about 10:01 p.m. CDT | Slightly earlier than Austin, but humidity can flatten contrast before the sky is fully dark. |
| Los Angeles | 8:07 p.m. PDT | about 8:45-9:00 p.m. PDT | about 9:52 p.m. PDT | The cleanest timing of the three if the marine layer stays out of your western horizon. |
If your goal is a twilight-plus-stars image, start closer to the framing window. If your goal is a darker, cleaner star field, wait until the astronomical-darkness line. Both are valid. They are just different pictures.
Readers planning a social photo walk can use the same logic on Cosmic Match or go straight to signup if they want people around them who already understand why a 10 p.m. start time can still be the beginning of the night.
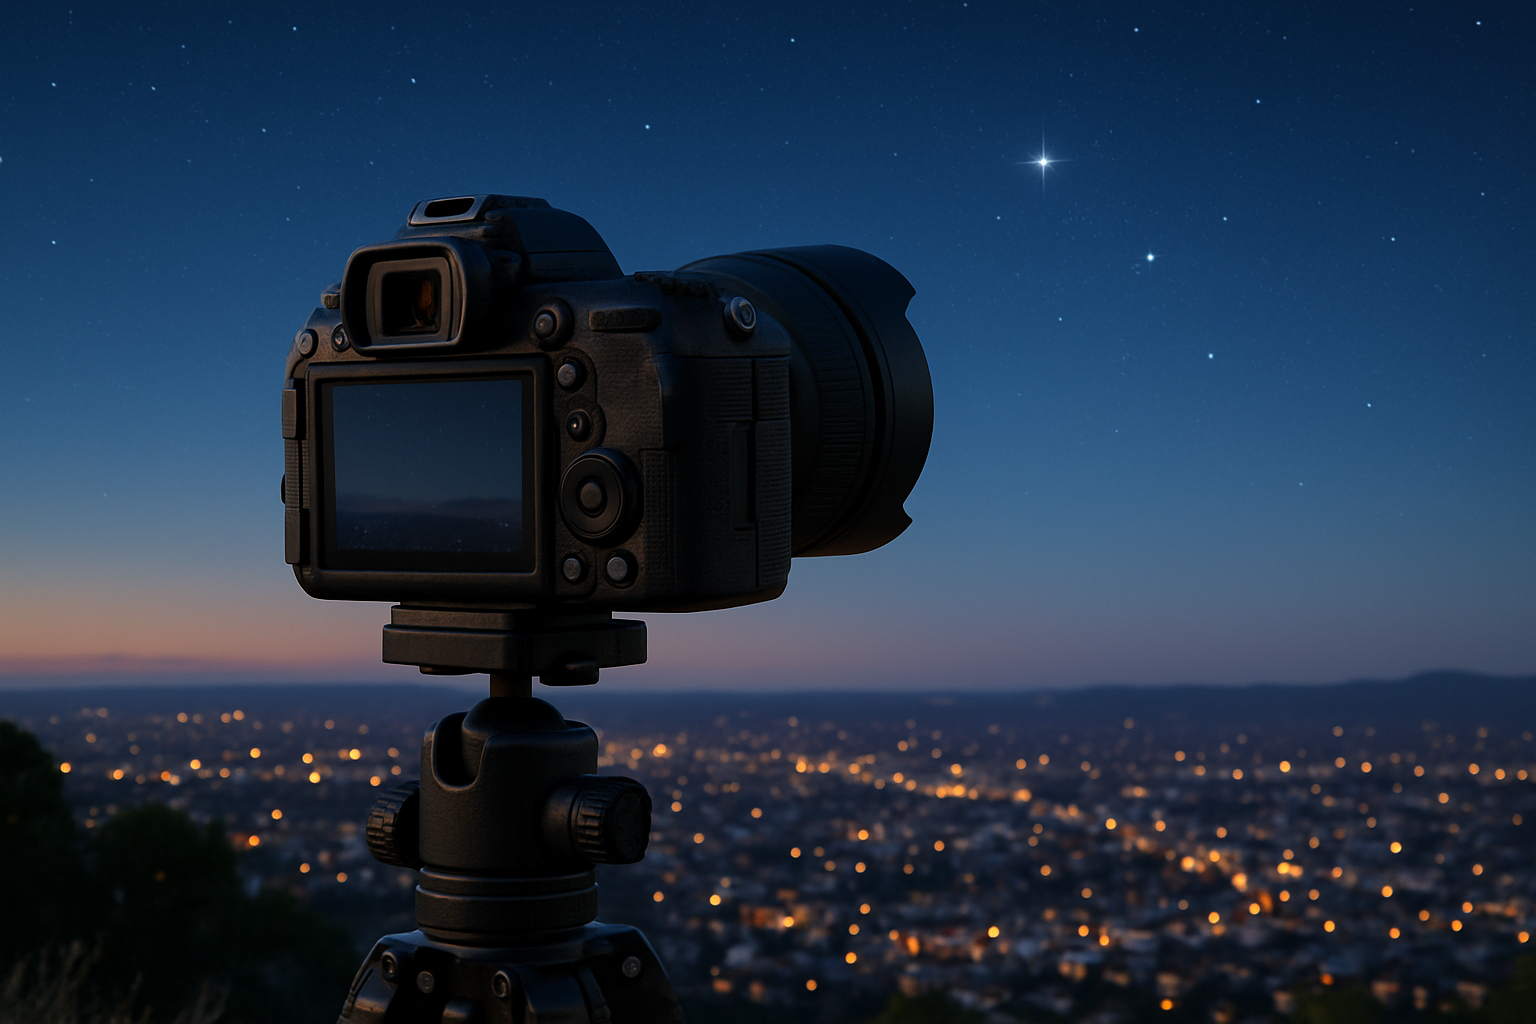 Start composition before full darkness, then tighten your settings as the sky loses its last glow.
The Easiest Wide-Field Setup
You do not need an equatorial mount to make this work. For a beginner-friendly Summer Triangle after the solstice image, the simplest setup is still the best one:
- Lens: 14mm to 24mm on full frame, or roughly 10mm to 18mm on APS-C
- Support: tripod, non-negotiable
- Trigger: 2-second timer, remote, or intervalometer
- Format: RAW if your camera allows it
A wide lens gives you margin. You can fit the whole Triangle, preserve some foreground, and keep exposure times short enough to avoid ugly star trails. If you only own a kit lens, use the widest end first. The image will live or die more on timing and steadiness than on premium glass.
If you are still figuring out what gear tier actually matters, our best astrophotography camera for beginners guide is the better companion read before you overspend.
Starting settings that actually make sense
For a tripod-mounted mirrorless or DSLR setup, start here:
- f/2 to f/2.8 if your lens allows it
- ISO 1600 to 3200
- 10 to 15 seconds at very wide focal lengths
- manual focus set on a bright star, then checked by zooming in on the LCD
If you move tighter, shorten the exposure. A 35mm frame that looks fine at 10 seconds on a wide lens may show star movement faster than you expect.
For phones, keep expectations realistic. A phone on a tripod can make a strong twilight cityscape with the Triangle above it, especially if your camera app offers a manual or night mode. It is much less reliable for a clean dark-sky star field. That is not failure. It is just a different use case.
How to Compose It Without Overcomplicating the Shot
The cleanest beginner composition is not "find every constellation detail." It is pick one foreground, then let the Triangle do the structure.
Good foreground choices:
- a dark hill line west of Austin
- a low rooftop or park edge in Houston
- a clean overlook or palm silhouette in Los Angeles
- one tripod silhouette if you want the image to feel more human and less like a sky chart
Try two frames:
- The twilight version: more color in the sky, brighter foreground, slightly less star density.
- The darker version: cleaner Triangle, better contrast, less atmosphere in the horizon color.
That side-by-side sequence usually tells the story of post-solstice astrophotography better than one "perfect" exposure. If you want another session built around subtle twilight contrast instead of full darkness, our earthshine photography guide uses the same patience-first approach.
City-Specific Reality Checks
Austin, Houston, and Los Angeles do not all fail the same way.
Austin: the issue is usually not skyline light alone. It is thinking 9 p.m. is already dark enough. It often is not. Start early for framing, but save your keeper sequence for later.
Houston: haze and humidity can soften stars before light pollution becomes the real limiter. If the sky feels washed out, drop the foreground ambition and simplify the frame.
Los Angeles: if the marine layer stays low, you can still get a sharp upper-sky frame. If it creeps inland, lean into the glow instead of fighting it. A moodier skyline-plus-stars image is still a win.
The key is not to judge the whole night from one early test shot. Post-solstice shooting rewards people who let the sky improve in stages.
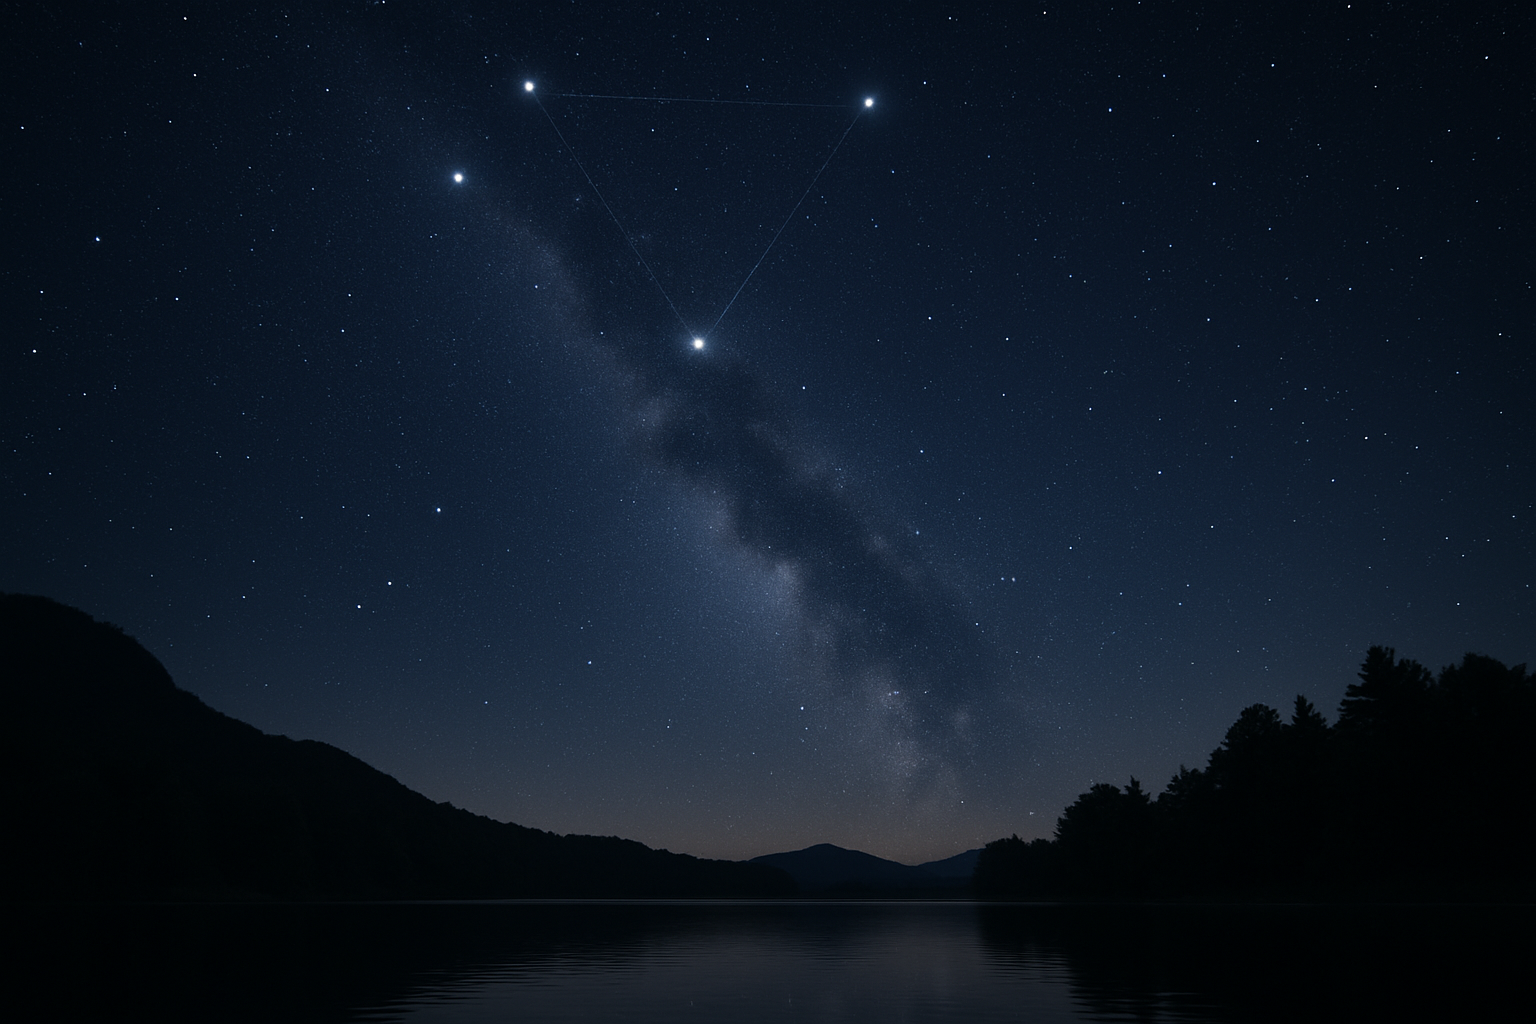 Once full darkness arrives, the same composition you framed earlier usually turns into a cleaner, calmer final image.
If you want to see how a shared observing night can become a strong finished frame, our new Photo of the Week #1 community spotlight breaks down an editor-selected Milky Way beach session and the setup choices that made it work.
What Success Looks Like Tonight
A successful Summer Triangle photo after the solstice does not need Milky Way drama. It needs a clean pattern, believable sky color, and enough contrast to make Vega, Deneb, and Altair feel intentional instead of accidental. If you come home with one twilight frame and one darker follow-up frame that both read clearly, the session worked.
That is why this is such a good late-June assignment. The Summer Triangle is bright, repeatable, and generous with beginners. The solstice does not erase it. It just forces a better schedule.
If you want a practical reason to be out later this week, this is one of the easiest ones in the whole June sky.