How to Photograph the May 31 Blue Micromoon Without a Telescope
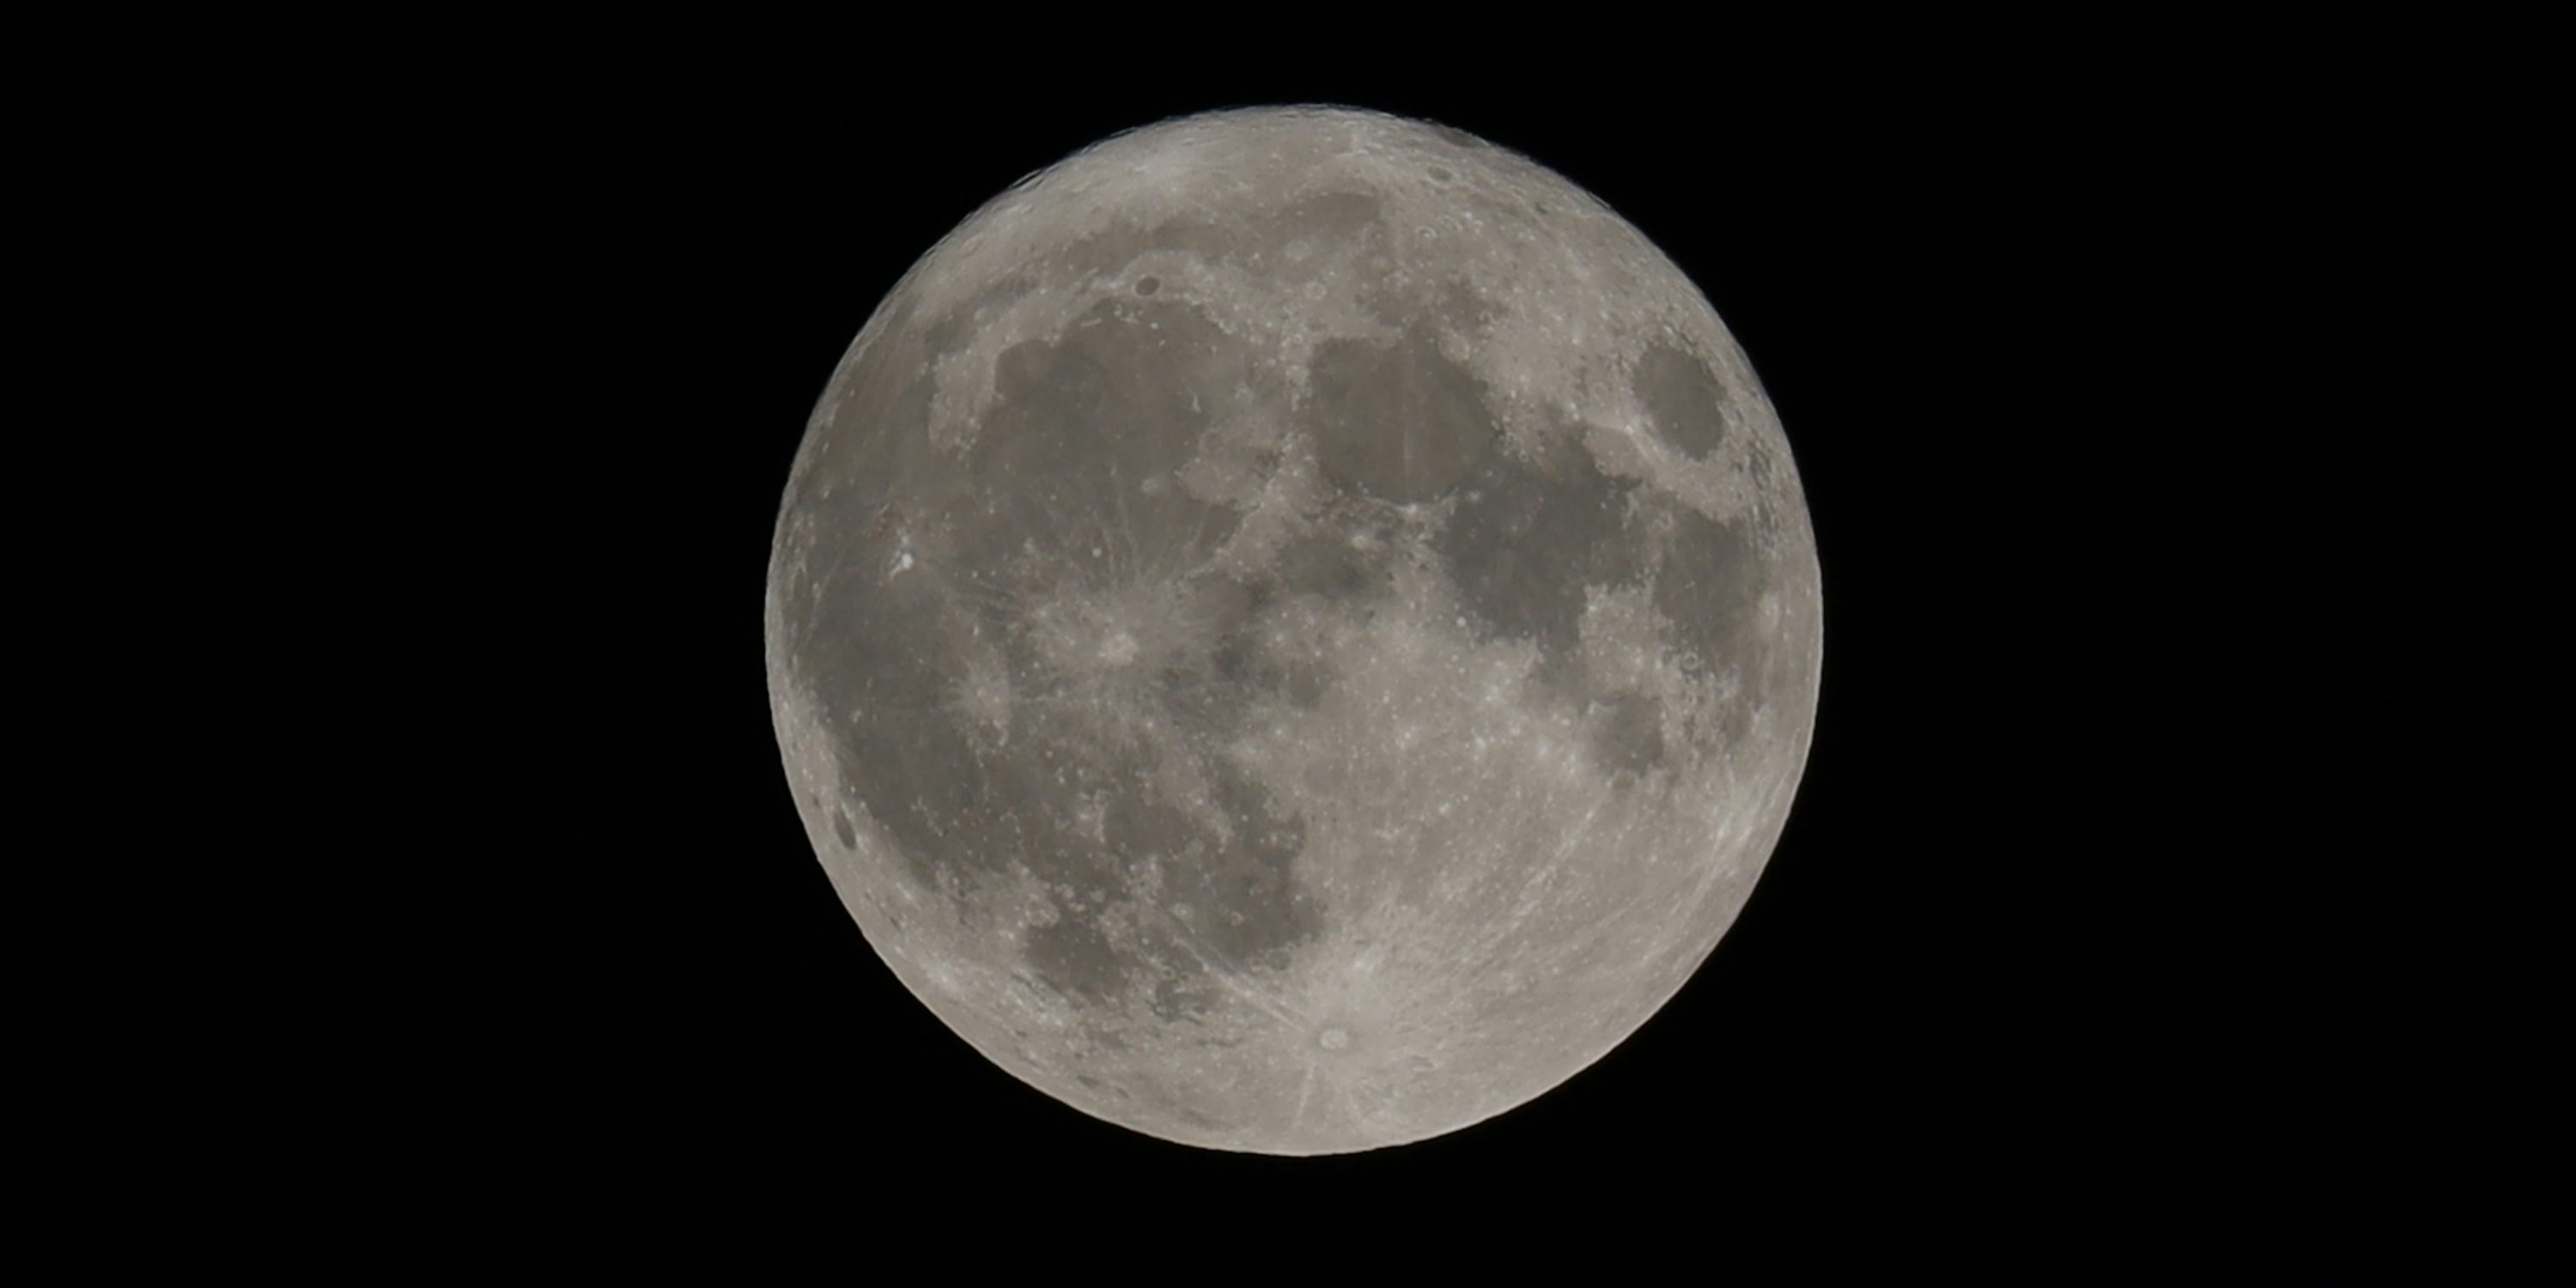
The May 31, 2026 Blue Moon is also a micromoon, which sounds like a contradiction until you remember the two labels describe different things. "Blue Moon" means it is the second full Moon in one calendar month. "Micromoon" means the full Moon happens near apogee, when the Moon is farther from Earth than usual. Timeanddate places the exact full phase at 08:45 UTC on May 31, 2026, and NASA's May skywatching guide highlights it as the month-ending lunar event worth watching.
That combination matters for photographers because it changes expectations. This is not the month for a giant horizon-hugging Moon that fills your frame with a phone camera. It is the month for clean composition, stable support, and realistic exposure control. The good news is that those are exactly the ingredients for a solid no-telescope workflow.
If you already checked our city-by-city timing guide for the May 31 Blue Moon and micromoon in Austin, Houston, and Los Angeles, this follow-up takes the next step: how to come home with a photo you actually want to keep.
Why the micromoon label changes your photo plan
A micromoon is still bright, obvious, and easy to find. What it is not is visually huge. Timeanddate says a micro full Moon appears only about 6% to 7% smaller than an average full Moon, which is subtle enough that most people will not notice it without comparison. Near the horizon, the familiar Moon illusion can even make it seem larger than it really is.
For photography, that means you should stop chasing the idea of a gigantic Moon with minimal gear. A phone or entry-level camera will do better when you treat the event as a scene rather than a pure close-up target. Buildings, trees, ridgelines, rooftop silhouettes, and open sky gradients help more than aggressive digital zoom.
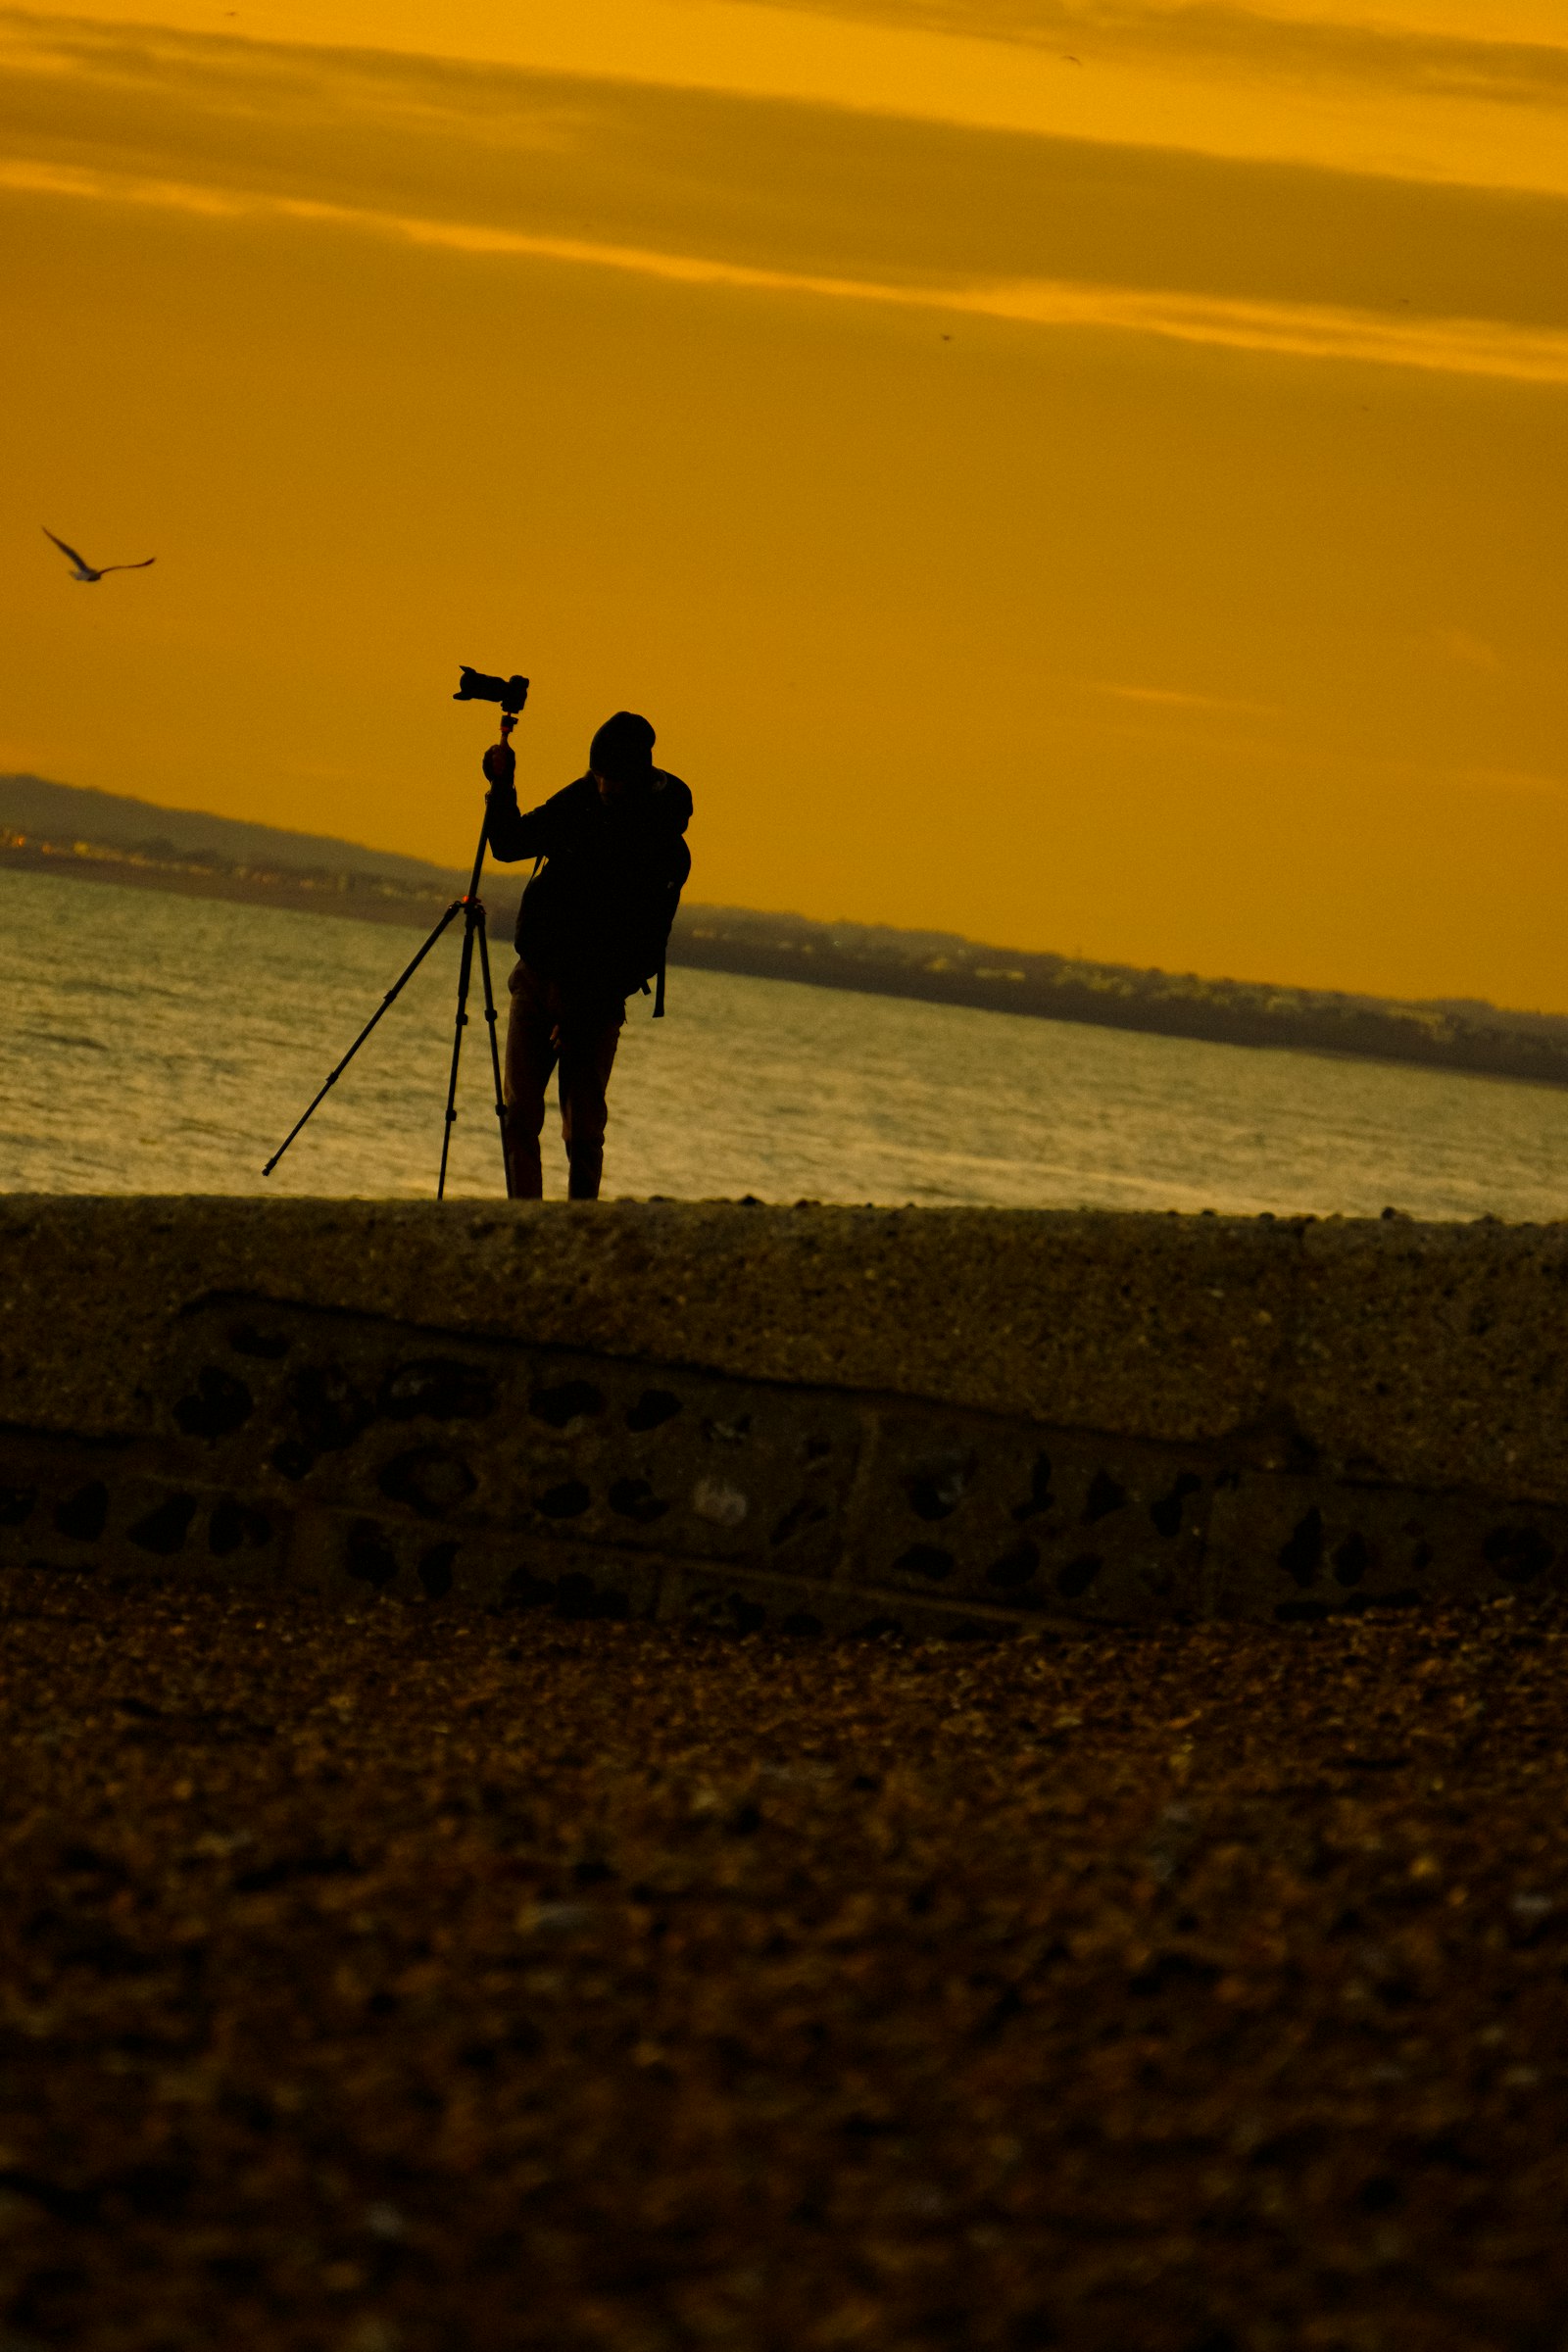
A micromoon also rewards discipline. Because the Moon will not dominate your frame by size alone, the strongest images usually come from one of two directions:
- a wide or mid-range composition that shows the Moon rising into a recognizable landscape
- a modest telephoto shot where the Moon stays crisp and detailed without pretending you have telescope reach
If you have never photographed lunar events before, this is a better beginner project than it sounds. The Moon is bright enough to work from the city, and the full-Moon date gives you two practical evenings to shoot around the peak.
Best no-telescope capture windows
The exact full phase happens in the early hours of May 31, but the most practical photography windows are the moonrise periods on the evenings of May 30 and May 31. The Moon will still look essentially full to casual observers on both nights, and those rise times give you the foreground options that a higher midnight Moon does not.
That is the central tradeoff:
- Exact peak gives you astronomy precision.
- Moonrise gives you the more photogenic shot.
For most people, moonrise wins.
If you want the best odds without a telescope, plan around these conditions:
- a clear eastern or southeastern horizon
- a location where the Moon can rise above rooftops, water, low hills, or trees
- enough twilight or residual city glow to give the frame shape and context
This is also a good time to think about what kind of Moon image you actually enjoy. If you liked the framing-heavy approach in our earthshine photography guide for the May new Moon, use the same instinct here: let the sky and foreground do part of the storytelling.
What to use if all you have is a phone
A phone can absolutely handle this event, as long as you aim for the right kind of photo.
The wrong goal is a giant, crater-rich Moon floating alone in black sky. Phones struggle there because the Moon is bright, small in the frame, and easy to overexpose.
The right goal is a moonrise composition. That means:
- use the main lens, not heavy digital zoom
- stabilize the phone with a tripod, clamp, railing, or parked support
- tap the Moon or sky near it to set exposure, then pull exposure down slightly if your app allows it
- take several frames as the Moon climbs and the sky darkens
Phones do especially well during the first stretch after moonrise, when the sky is not fully black and the scene still has depth. If you want the Moon to look larger, move closer to a foreground subject instead of relying on digital zoom alone.
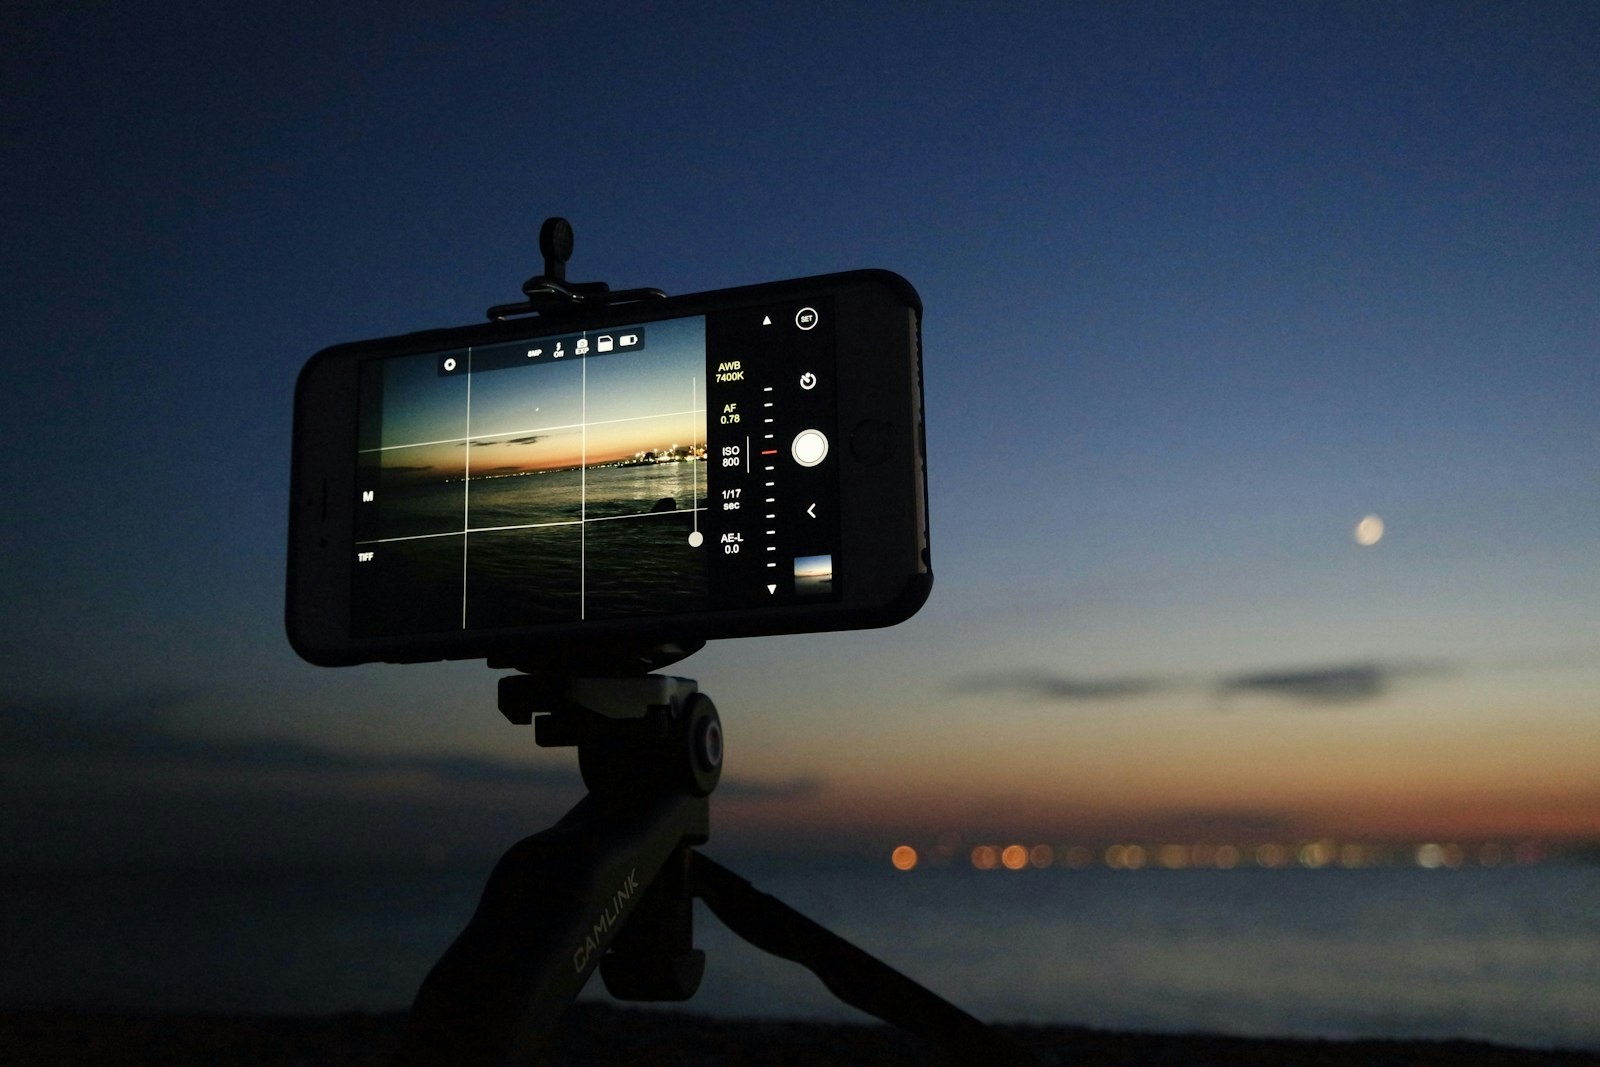
A few practical phone settings usually help:
- use a 2-second or 3-second timer
- keep night mode conservative if it starts smearing the Moon
- shoot both vertical and horizontal frames
- take one frame exposed for the sky and one slightly darker frame exposed for the Moon
If the Moon keeps blowing out into a white blob, that is not a sign you need better gear. It usually means you need less exposure and more stabilization.
Entry-camera settings that work without telescope gear
If you have a mirrorless camera, DSLR, or bridge camera, the easiest win is a short-to-moderate telephoto setup. Think in the 70mm to 300mm range, not telescope-level magnification.
Start with these settings and adjust from there:
For moonrise scenes with foreground
- Lens: 70mm to 135mm
- Aperture: around
f/4tof/5.6 - ISO:
100to400 - Shutter: roughly
1/30to1/125second on a tripod, depending on sky brightness
For tighter Moon-only shots without a telescope
- Lens: 200mm to 300mm if available
- Aperture: around
f/5.6tof/8 - ISO:
100to200 - Shutter: roughly
1/125to1/500second
Bracket a few exposures. One frame can protect lunar surface detail while another keeps a little more sky color. Later, you can choose the more natural-looking result instead of trying to rescue a clipped highlight.
If your gear decisions still feel fuzzy, our beginner astrophotography camera guide is a good reality check on what actually improves results versus what just adds cost.
Composition matters more than magnification here
Because this is a micromoon, composition carries more weight than brute reach.
That usually means one of these setups works best:
- Moon rising above a skyline or roofline
- Moon framed by trees or utility lines with clean negative space
- Moon above water or a park edge where the horizon stays low
- Moon positioned off-center in a wide dusk scene

Even a close Moon shot looks better when it stays believable. Avoid oversharpening, overly orange color, or aggressive AI-style detail enhancement. The Moon should still look like the Moon, not like a pasted sticker.
A few easy mistakes to avoid:
- waiting until the Moon is too high and the foreground is gone
- overexposing the disk until maria and edge detail disappear
- shooting handheld at long focal lengths and blaming the camera later
- using too much zoom on a phone and ending up with mush
The simplest workflow that gives you a usable photo
- Pick your location in daylight if you can.
- Show up 10 to 15 minutes before moonrise.
- Start with wider scene-setting frames before you chase detail.
- Reduce exposure slightly once the Moon clears the horizon.
- Take a few tighter frames only after you already have a safe image.
- In editing, lower highlights first and keep sharpening restrained.
That sequence is boring in the best way: it works.
Bottom line
The May 31, 2026 Blue Moon is worth photographing even though it is also a micromoon. In fact, the micromoon angle is exactly why a no-telescope approach makes sense. Instead of forcing a giant-Moon fantasy out of small gear, build a strong composition, stabilize the shot, and let moonrise do the visual work for you.
If you want exact viewing times first, use the city timing guide for Austin, Houston, and Los Angeles. If you want the better photo, plan for the horizon, not just the clock.