Best Beginner Telescope for City Stargazing: What Actually Works From a Backyard
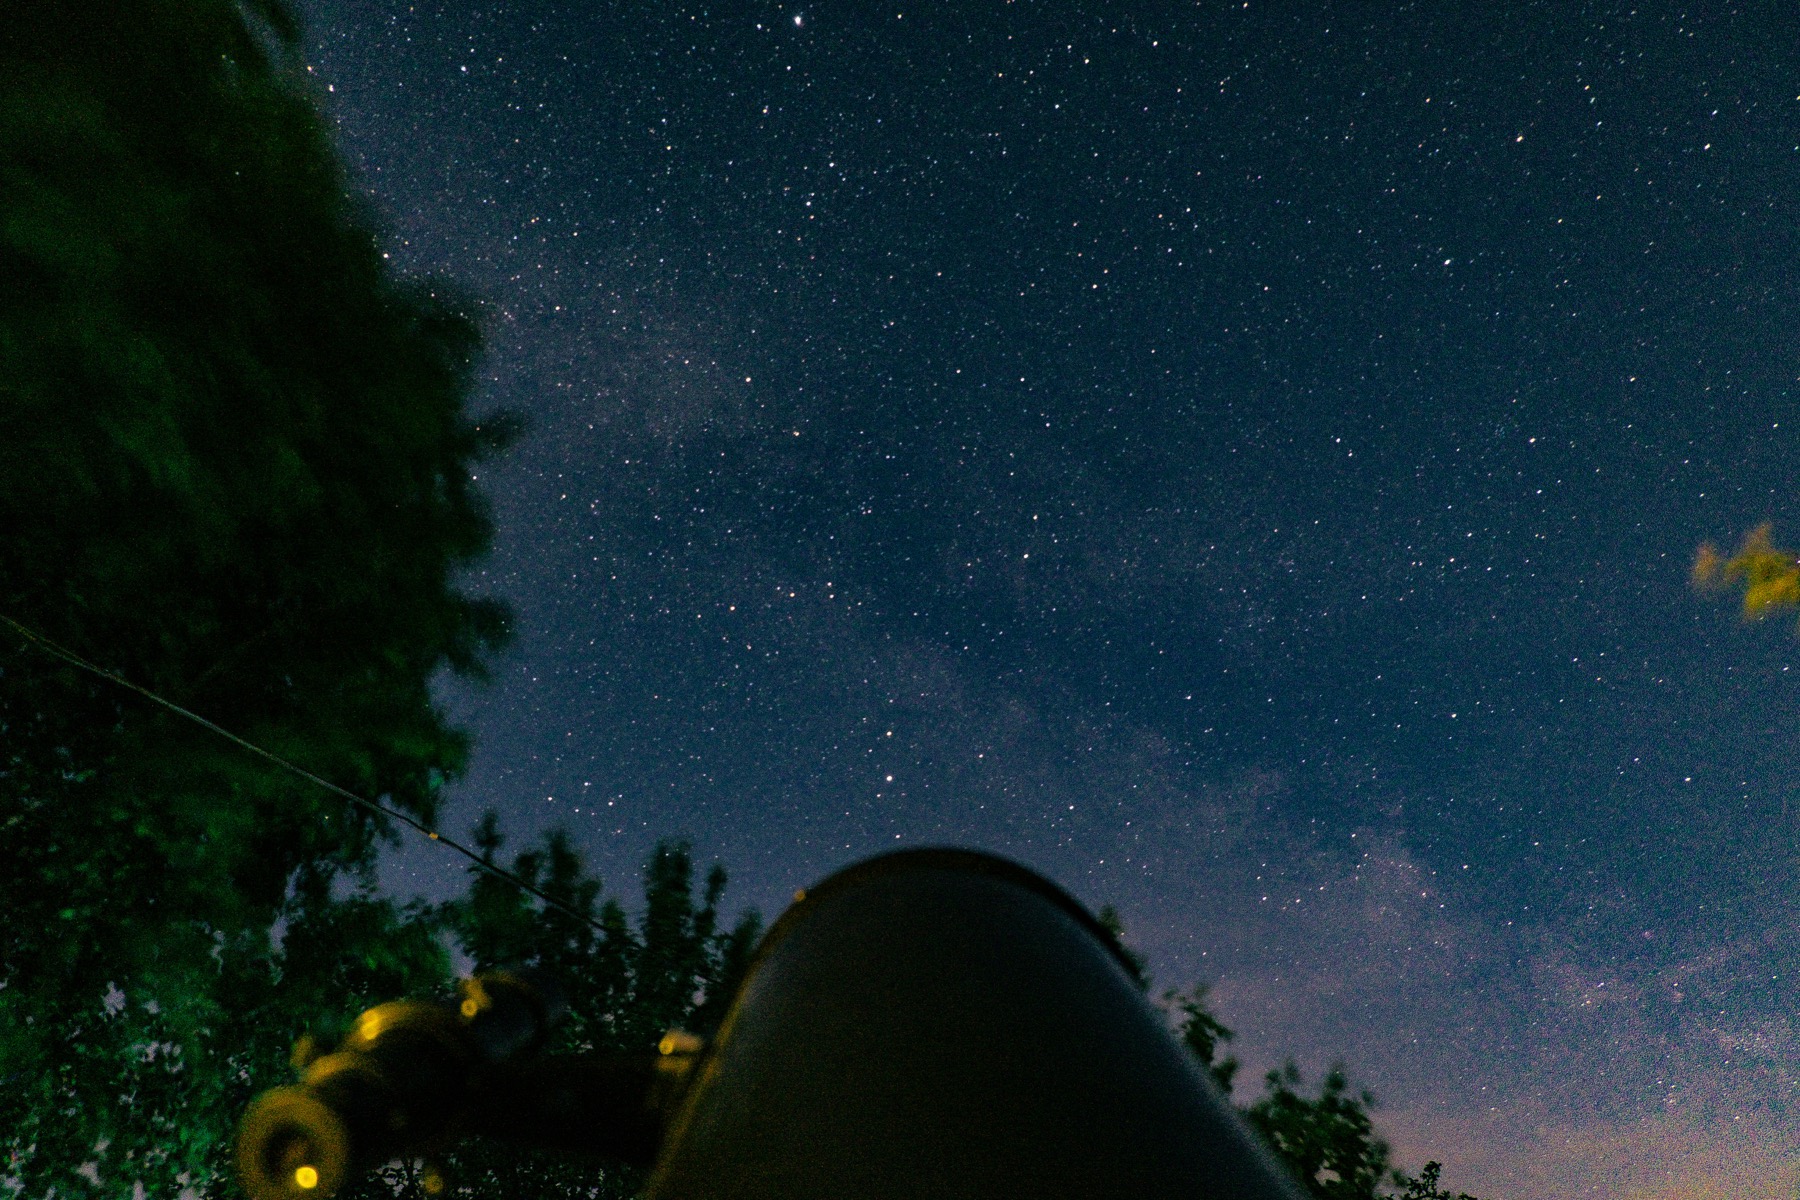
Best Beginner Telescope for City Stargazing: What Actually Works From a Backyard
A city backyard is not a consolation prize. It is one of the best testing grounds for a beginner telescope, because it quickly reveals what matters: fast setup, a steady mount, enough aperture for bright targets, and realistic expectations about light pollution. The best beginner telescope for city stargazing is not the one with the wildest magnification number on the box. It is the one you will actually carry outside on a Tuesday night, aim without frustration, and use often enough to learn the sky.
If you are shopping for your first scope from an apartment patio, townhouse driveway, balcony, or light-polluted suburb, start here. If you are not fully sure you want a telescope yet, our guide to the best stargazing binoculars for beginners explains why an 8x42 or 10x50 can be the smarter first buy.
What city telescopes need to do well
Urban and suburban skies change the buying question. Under dark rural skies, aperture can pull faint galaxies and nebulae out of the background. Under city skyglow, the Moon, planets, double stars, bright open clusters, and a handful of bright nebulae become the more reliable wins.
That does not mean deep-sky viewing is impossible. It means your first telescope should make the common city targets easy and satisfying before it promises faint-smudge miracles.
For most beginners, the practical checklist is:
- Enough aperture to make the Moon, Jupiter, Saturn, and bright clusters feel alive.
- A mount that does not shake every time you touch the focuser.
- A tube you can store and move without turning observing into furniture logistics.
- A wide enough field of view to find things before you get discouraged.
- Simple setup that works even when you only have 30 minutes outside.
Sky & Telescope's beginner guidance puts aperture and mount stability ahead of flashy magnification claims, and that is exactly the right lens for city stargazing. A shaky 130mm scope can be less useful than a smaller scope on a solid mount.
The three telescope types that make sense for beginners
1. Refractors: the easiest grab-and-go choice
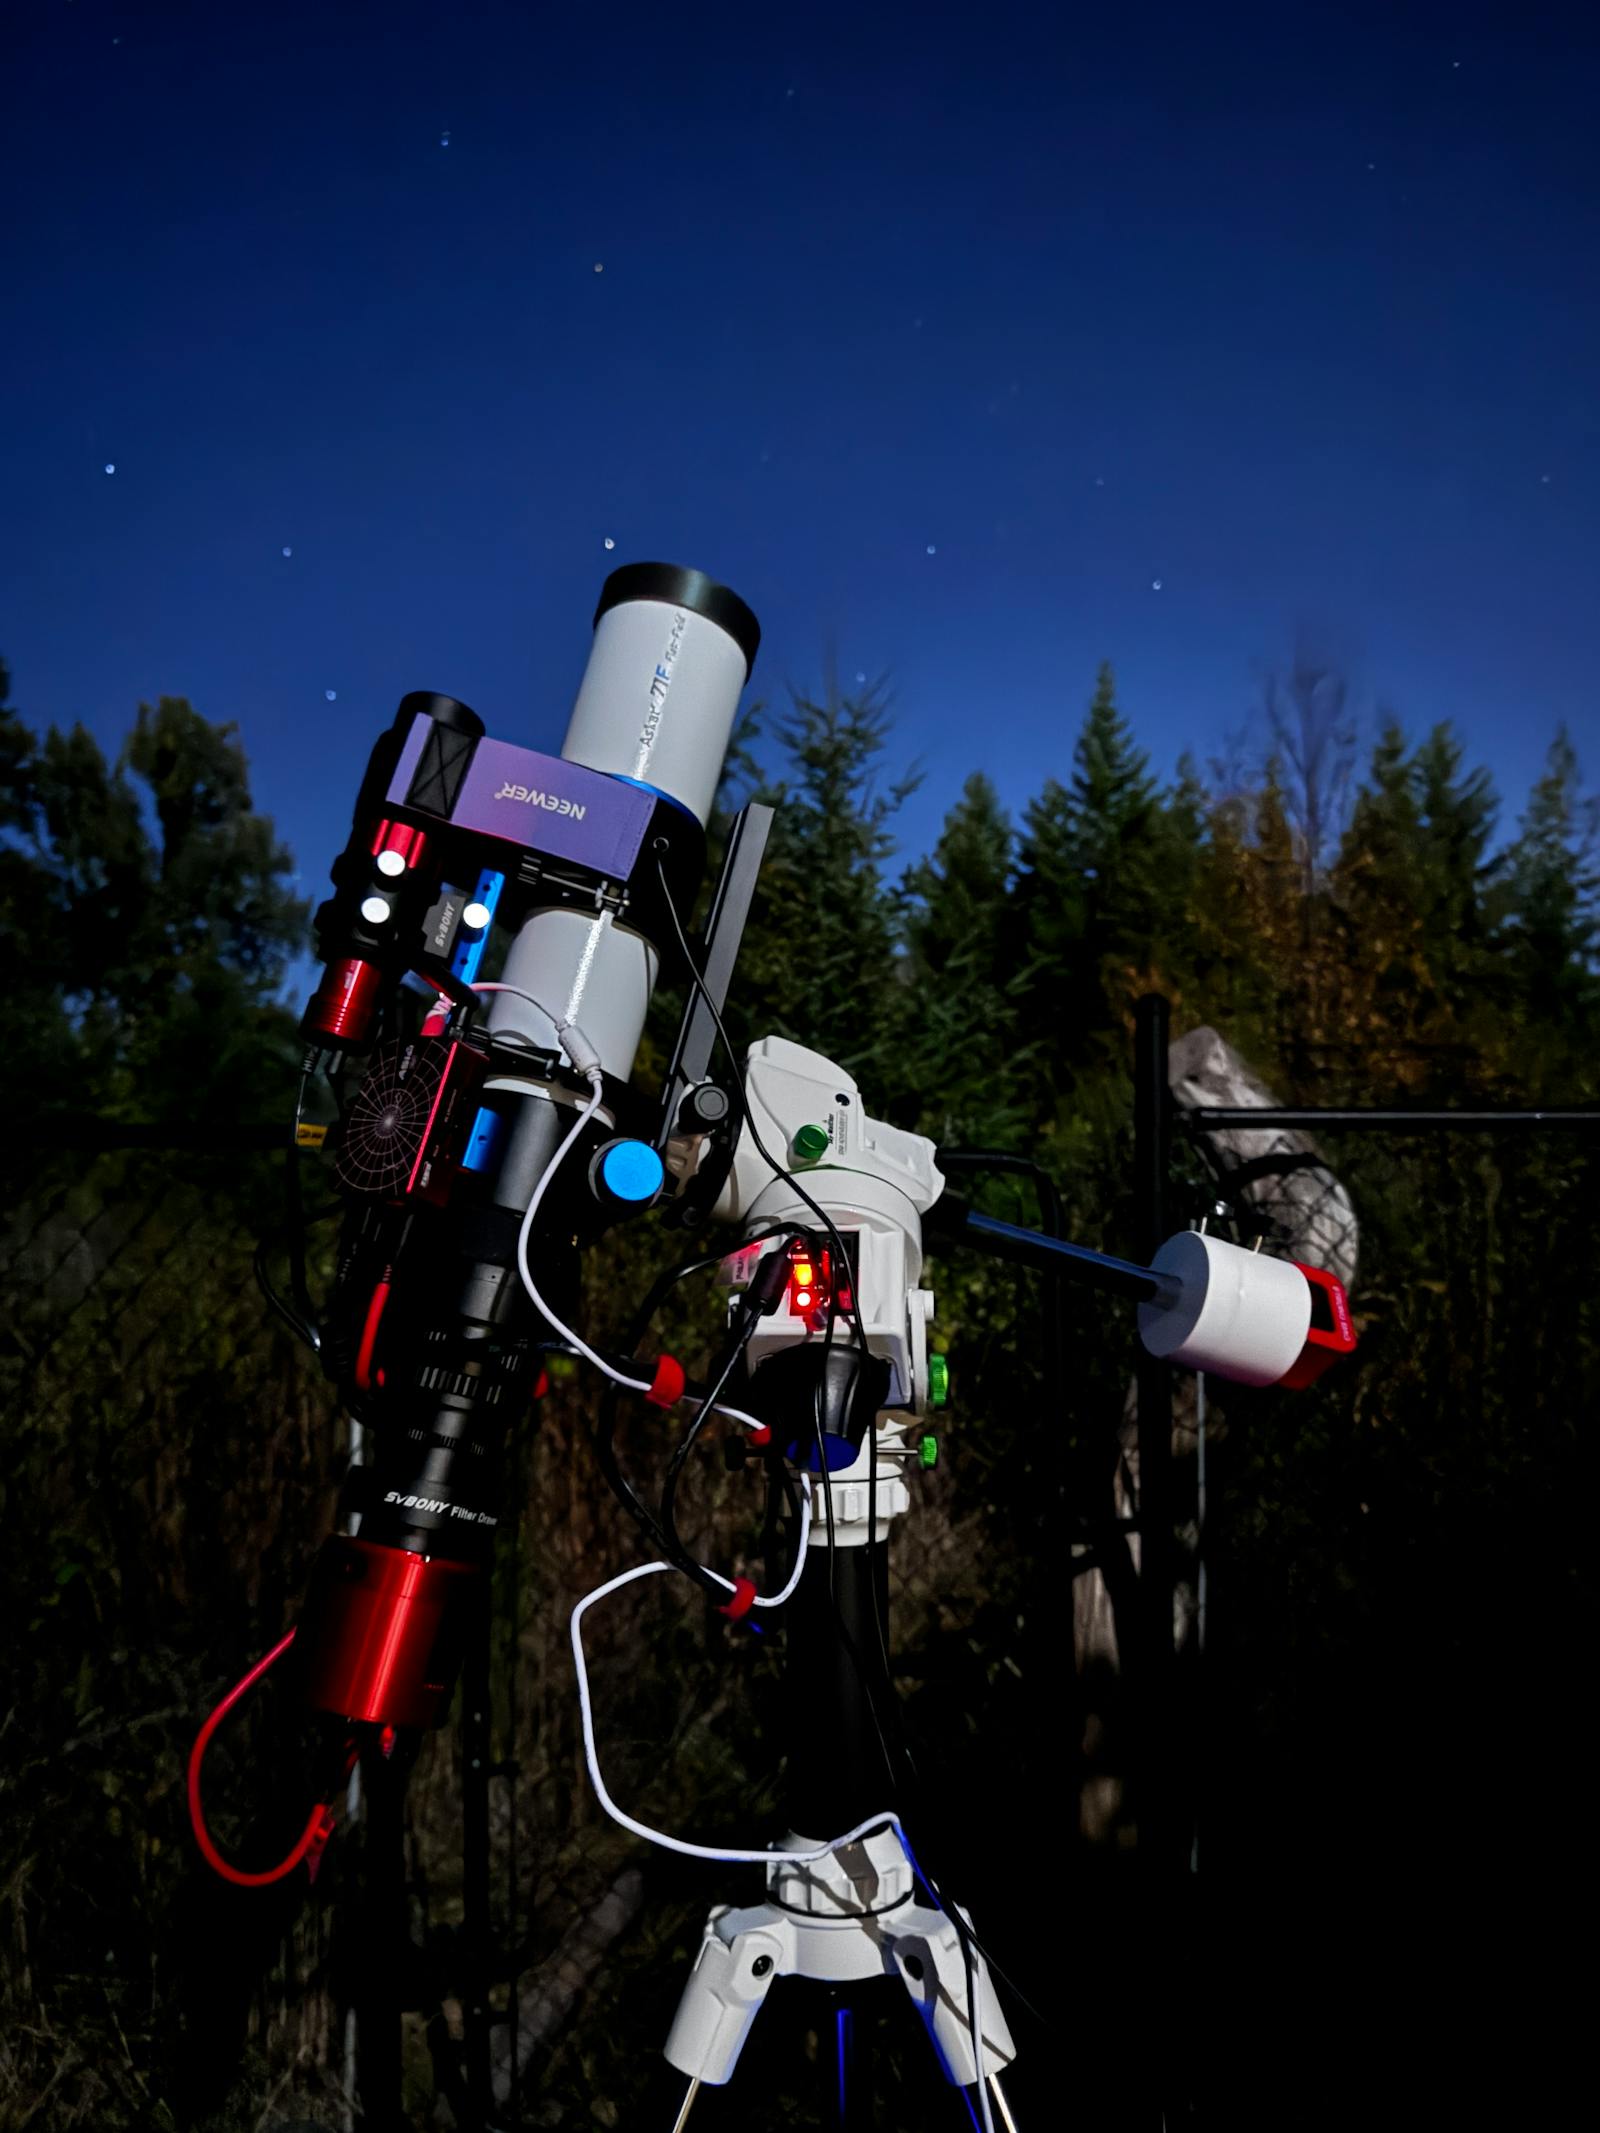
A refractor is the classic telescope shape: a lens up front, eyepiece at the back, low maintenance, quick to set up. For city observers, a 70mm to 90mm refractor on a sturdy alt-azimuth mount can be a very good first telescope.
Why it works in the city:
- Great for the Moon, Jupiter's moons, Saturn's rings, Venus phases, and bright double stars.
- Usually needs little maintenance.
- Cools quickly, which matters when you step from an air-conditioned apartment into a warm evening.
- Long-tube models can be forgiving with basic eyepieces.
Tradeoffs:
- More aperture gets expensive quickly.
- Budget tripods can be wobbly, so the mount matters as much as the lens.
- Faint galaxies will still look faint under city glow.
Best fit: someone who wants low fuss, quick sessions, and lunar or planetary views from a patio.
2. Tabletop Dobsonians: the best value if you have a surface
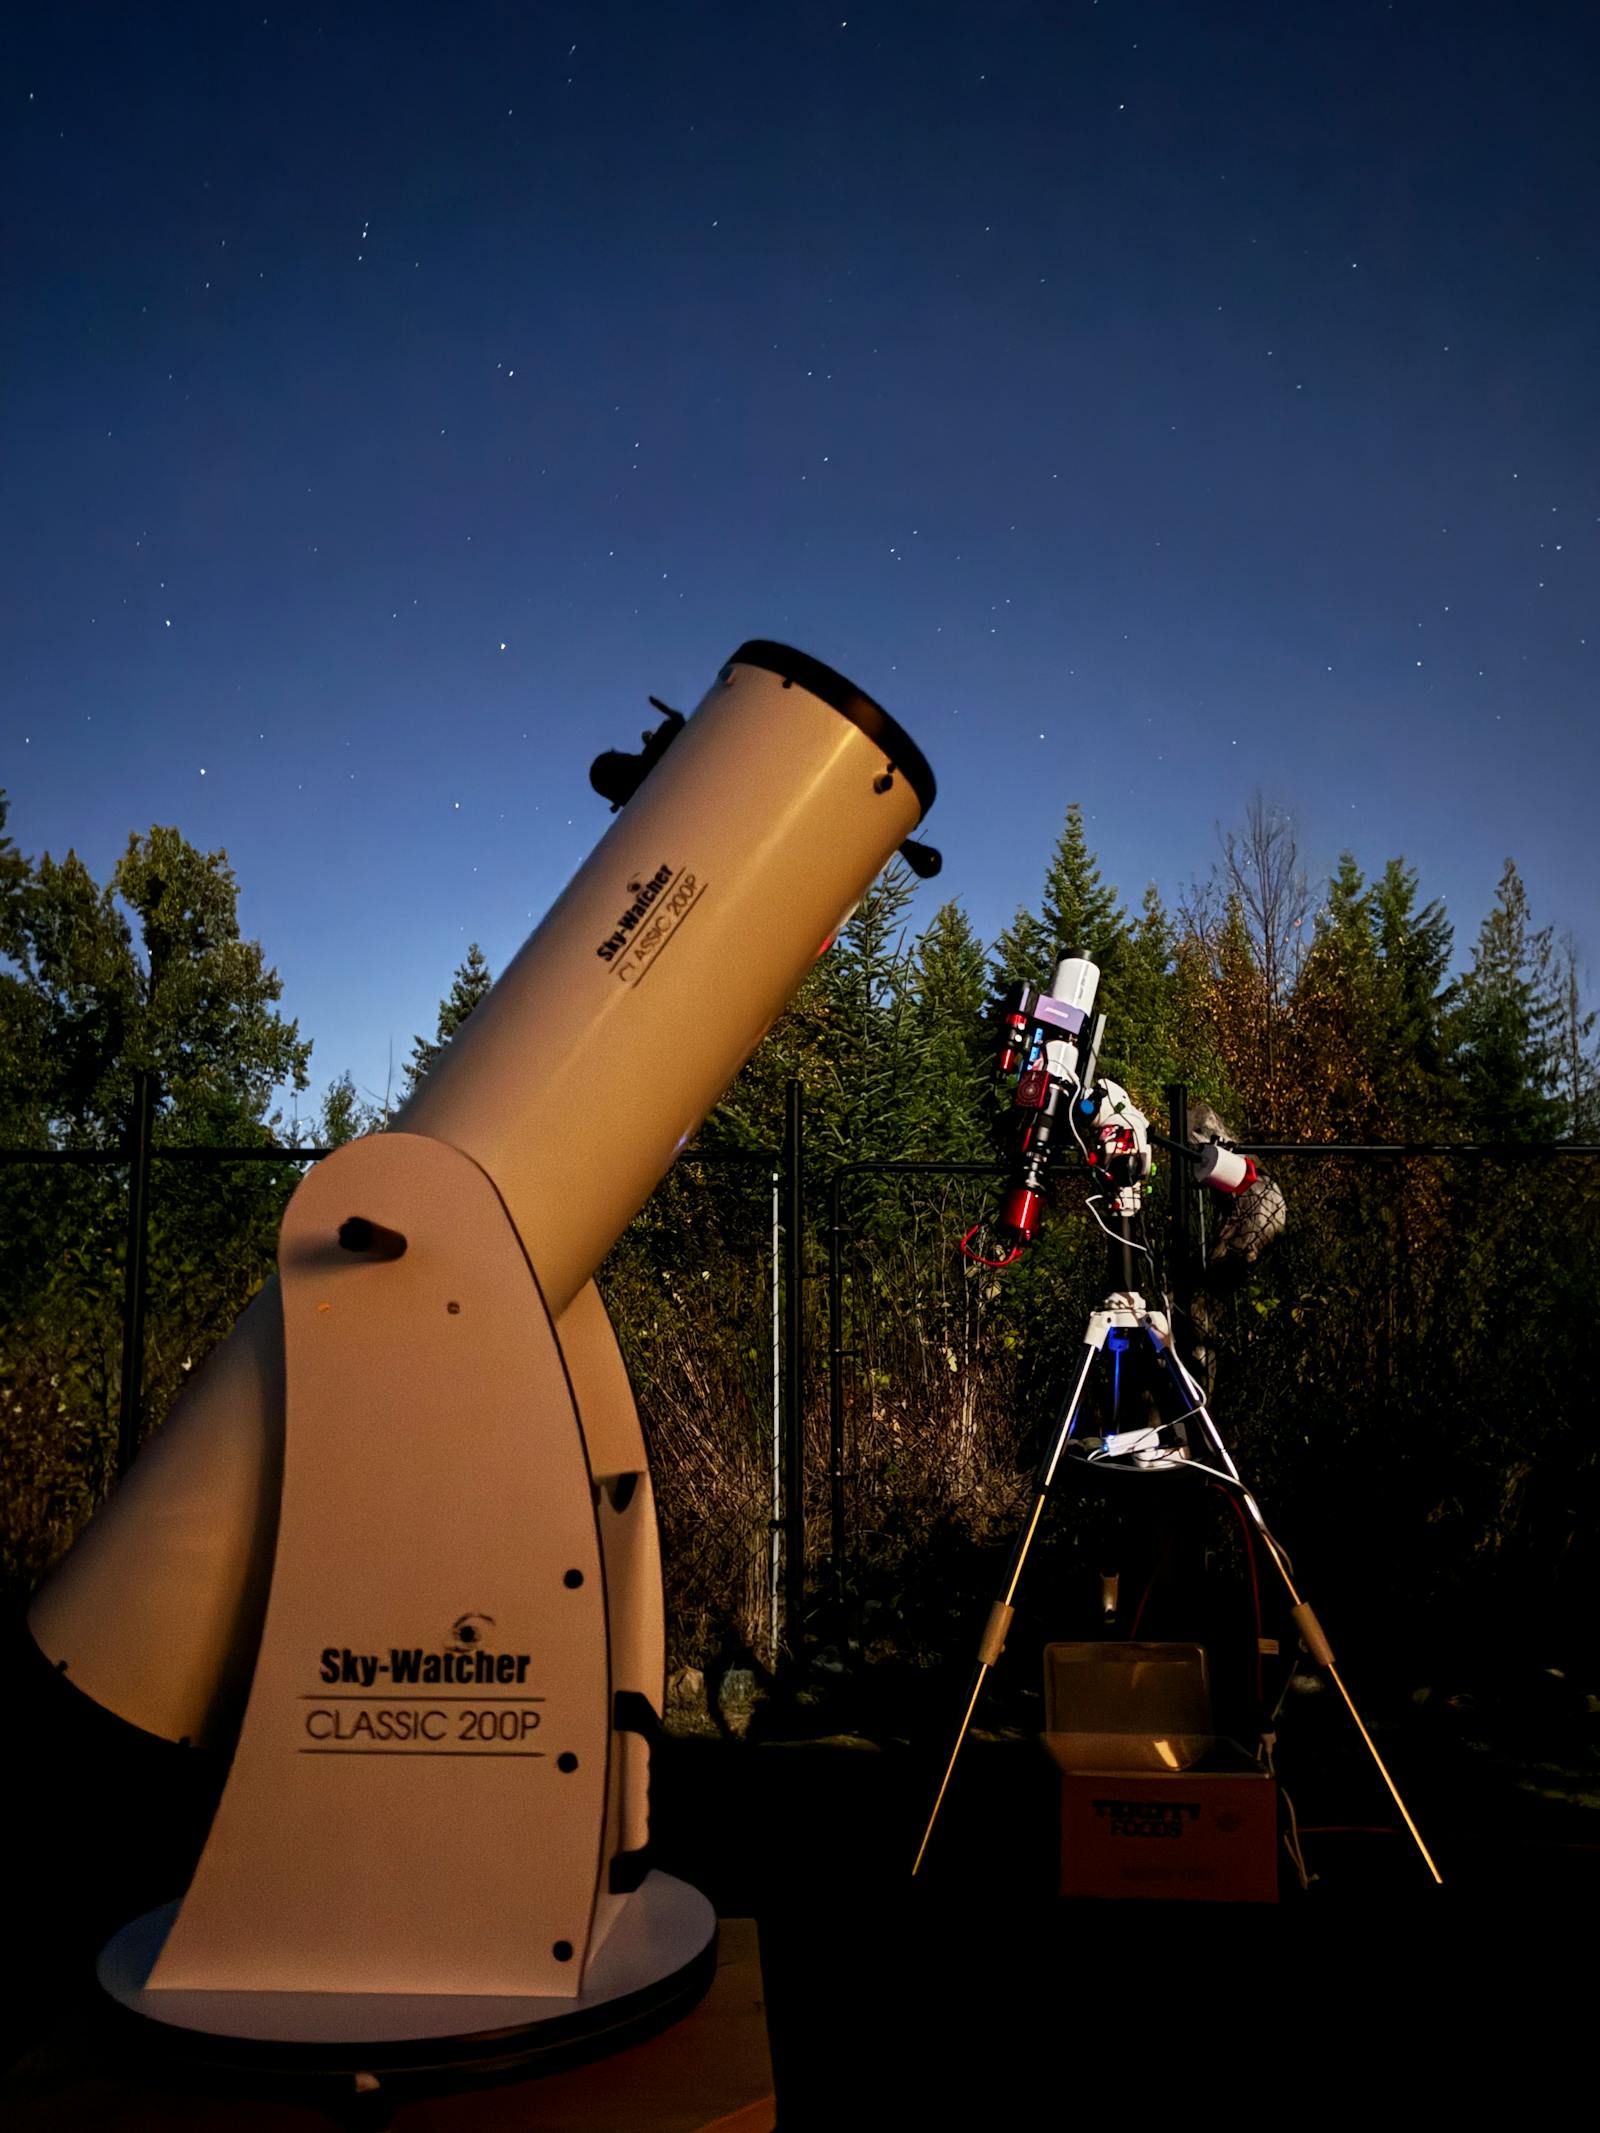
A Dobsonian is a Newtonian reflector on a simple, stable mount. The tabletop versions, often in the 100mm to 130mm range, are popular because they put more aperture into a beginner budget without requiring a tall tripod.
Why it works in the city:
- More light-gathering power per dollar than most refractors.
- Stable push-to-aim movement is beginner friendly.
- Good for bright clusters, the Moon, planets, and learning star-hopping.
- Compact enough for closets and car trunks.
Tradeoffs:
- You need a stable table, crate, bench, or platform.
- Reflectors may need occasional collimation, which sounds scarier than it is but is still a skill to learn.
- Open tubes can be more affected by cooldown and stray light.
Best fit: someone who wants the most visual punch for the money and does not mind a little hands-on setup.
If you are specifically weighing manual value against automation, our full comparison of Dobsonian vs smart telescope first-scope choices breaks down which style fits different beginner habits.
3. Maksutov-Cassegrains: compact planet specialists
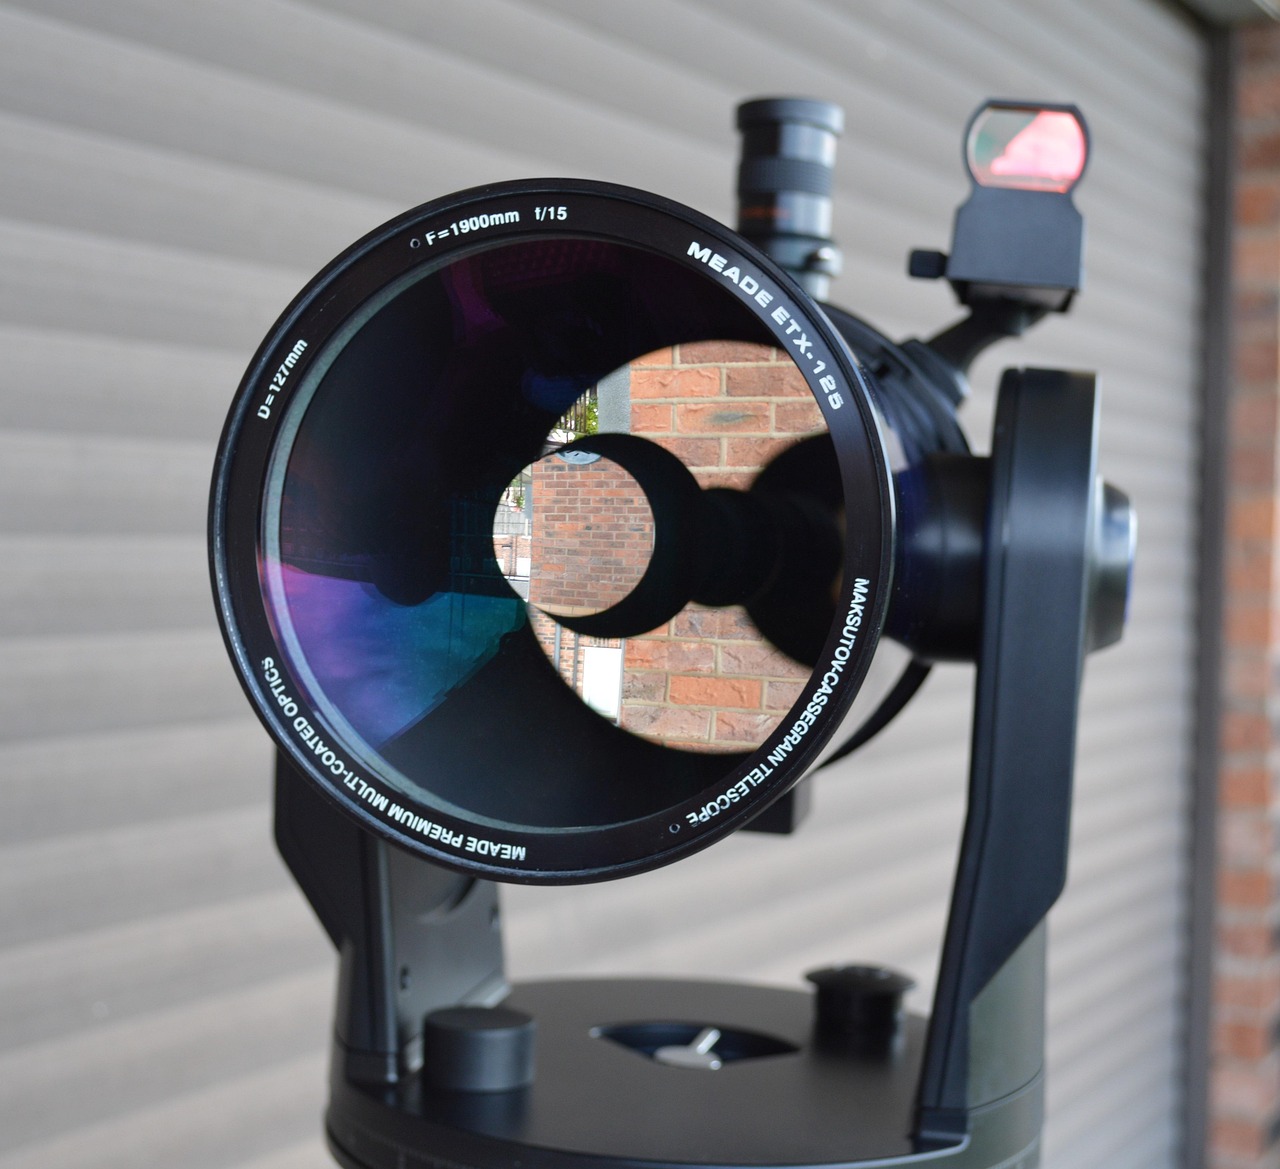
A small Maksutov-Cassegrain, often called a Mak, folds a long focal length into a short tube. That makes it easy to store and naturally suited to higher magnification views of the Moon and planets.
Why it works in the city:
- Very compact for apartments and balconies.
- Strong lunar and planetary performance.
- Usually low maintenance once aligned.
- Pairs well with a sturdy manual or tracking mount.
Tradeoffs:
- Narrower field of view can make finding objects harder.
- Less ideal for wide star fields and large clusters.
- Closed tubes may need time to reach outdoor temperature.
Best fit: someone with limited storage who mainly wants the Moon, planets, and bright compact targets.
What not to buy first
Avoid making your first decision around giant magnification numbers. Magnification is easy to advertise and hard to use well. It depends on aperture, eyepiece quality, atmospheric steadiness, and mount stability. A telescope claiming extreme power on a flimsy tripod is usually selling frustration.
Also be cautious with very cheap equatorial mounts. Equatorial mounts are useful once you understand polar alignment and tracking, but many beginner kits make them feel harder than they need to be. For visual city stargazing, a solid alt-azimuth mount is usually simpler: up, down, left, right.
Finally, do not buy a huge telescope if you live up three flights of stairs and have no easy observing space. The best telescope is the one that gets used.
The realistic city target list
A good beginner city telescope should make these targets rewarding:
- The Moon at every phase except full, when contrast is flatter.
- Jupiter's cloud belts and four bright Galilean moons.
- Saturn's rings when the planet is well placed.
- Venus as a changing crescent or gibbous disk.
- Mars near favorable oppositions.
- Double stars such as Albireo and Mizar.
- Bright open clusters like the Pleiades, Beehive, and Double Cluster.
- Orion Nebula on winter nights, especially with local glare blocked.
Galaxies are a different story. Some are visible from suburbs with enough aperture and experience, but city skyglow lowers contrast dramatically. If a faint galaxy is your dream, plan occasional trips to darker sites. Our guide to stargazing near Austin after meteor shower peaks is a good reminder that location can upgrade the same telescope more than a new accessory can.
The backyard setup that improves any telescope
Before buying extra eyepieces, improve the observing environment.
Block glare. Streetlights and porch lights hurt your view more than many beginners expect. Stand in the shadow of a wall, fence, tree, or patio umbrella. Even a temporary screen can help your eyes adapt.
Give your eyes time. Dark adaptation is not instant, and phone screens reset progress quickly. Use a dim red light and keep your brightest apps away from your observing session.
Let the telescope cool. If the tube is much warmer or colder than outside air, high-power views can shimmer. Refractors often settle quickly; reflectors and Maks may need more time.
Start low power. Use the longest focal length eyepiece first. A wider, lower-power view makes targets easier to find and keeps the image steadier.
Keep sessions short at first. A 25-minute Moon-and-Jupiter night that goes well will teach you more than a two-hour struggle with a complex setup.
So, what is the best beginner telescope for city stargazing?
If you want the simplest answer:
- Choose a 70mm to 90mm refractor if you want the easiest grab-and-go experience.
- Choose a 100mm to 130mm tabletop Dobsonian if you want the best value and brighter views.
- Choose a 90mm to 127mm Mak if storage is tight and planets are your main interest.
Any of those can be a smart first telescope. The difference is not which one is universally best. It is which one matches your observing space, storage, patience, and targets.
For a balcony observer, the compact Mak may win. For a backyard with a picnic table, a tabletop Dobsonian may be the sweet spot. For someone who wants to be outside in two minutes, a small refractor on a stable mount is hard to beat.
A first telescope is better with a second pair of eyes
City stargazing gets easier when you can compare notes: what eyepiece worked, where Jupiter cleared the roofline, which local park has fewer lights, and whether the faint blur you found was actually the Orion Nebula. That is the kind of practical enthusiasm Cosmic Match is built around.
If you want to meet people who would rather discuss eyepieces than small talk, join Cosmic Match free and connect with other astronomy lovers. You can also start from the Cosmic Match homepage and find people who share your night-sky habits, from backyard lunar sessions to road trips under darker skies.
Your first telescope does not need to beat the city. It just needs to work with the city: portable enough to use, stable enough to focus, and honest enough to show you the sky that is really above your home.
For Houston readers planning where to actually use that first scope, we also put together a practical guide to stargazing near Houston for beginners, including city-sky targets, Brazos Bend, Galveston, and when a darker drive is worth it.
If you would rather start with a no-gear observatory outing before buying your first scope, our Mount Wilson 100-inch telescope day trip guide walks through one of the best Los Angeles-area history-forward astronomy visits you can do in a single day.
Sources and further reading
- Sky & Telescope: How to Choose Your First Telescope
- Sky & Telescope: Rate Your Skyglow
- Cosmic Match: Best Astrophotography Camera for Beginners\n\n## Keep Going After the Bright Targets\n\nOnce you are comfortable aiming a first telescope, our Summer Triangle guide is a good next step for learning Vega, Deneb, and Altair and finding an easy summer sky pattern that works well from city and suburban observing spots.\n